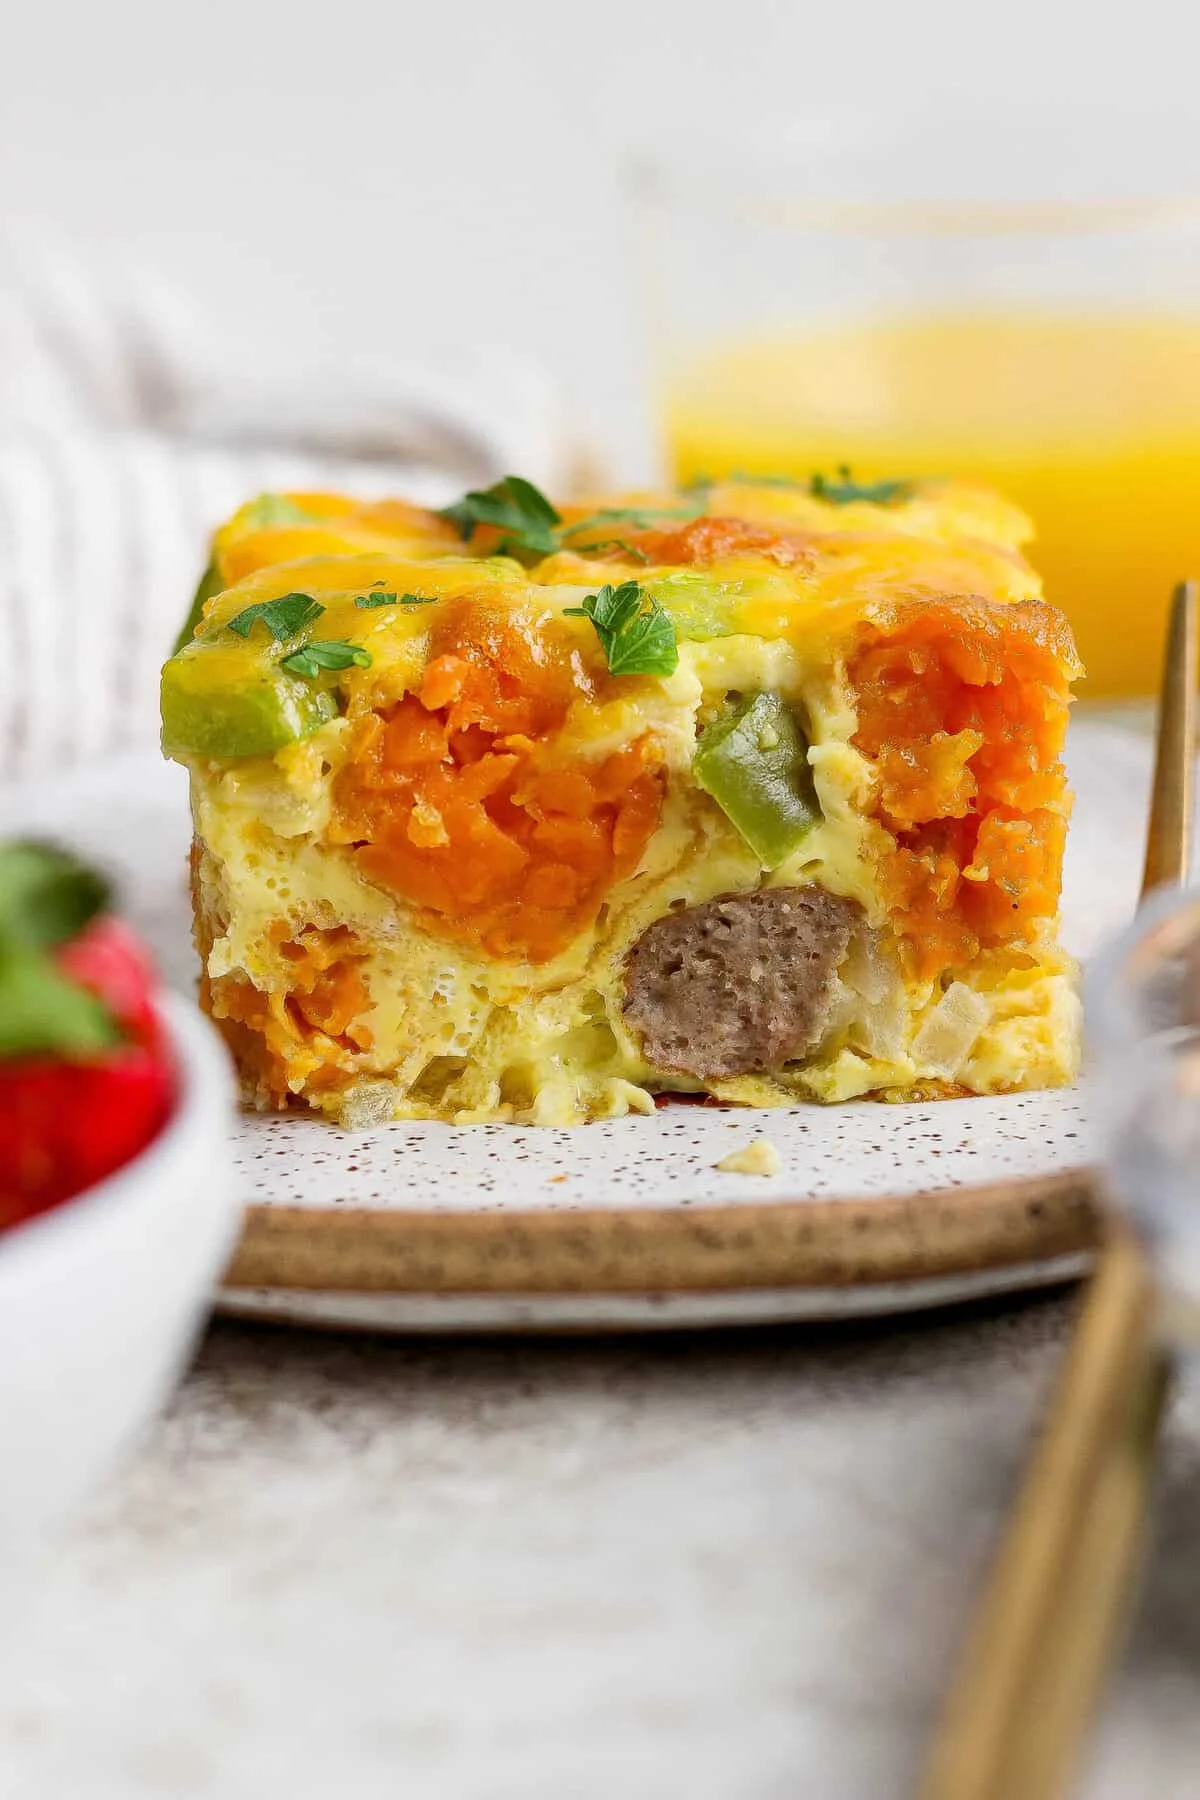
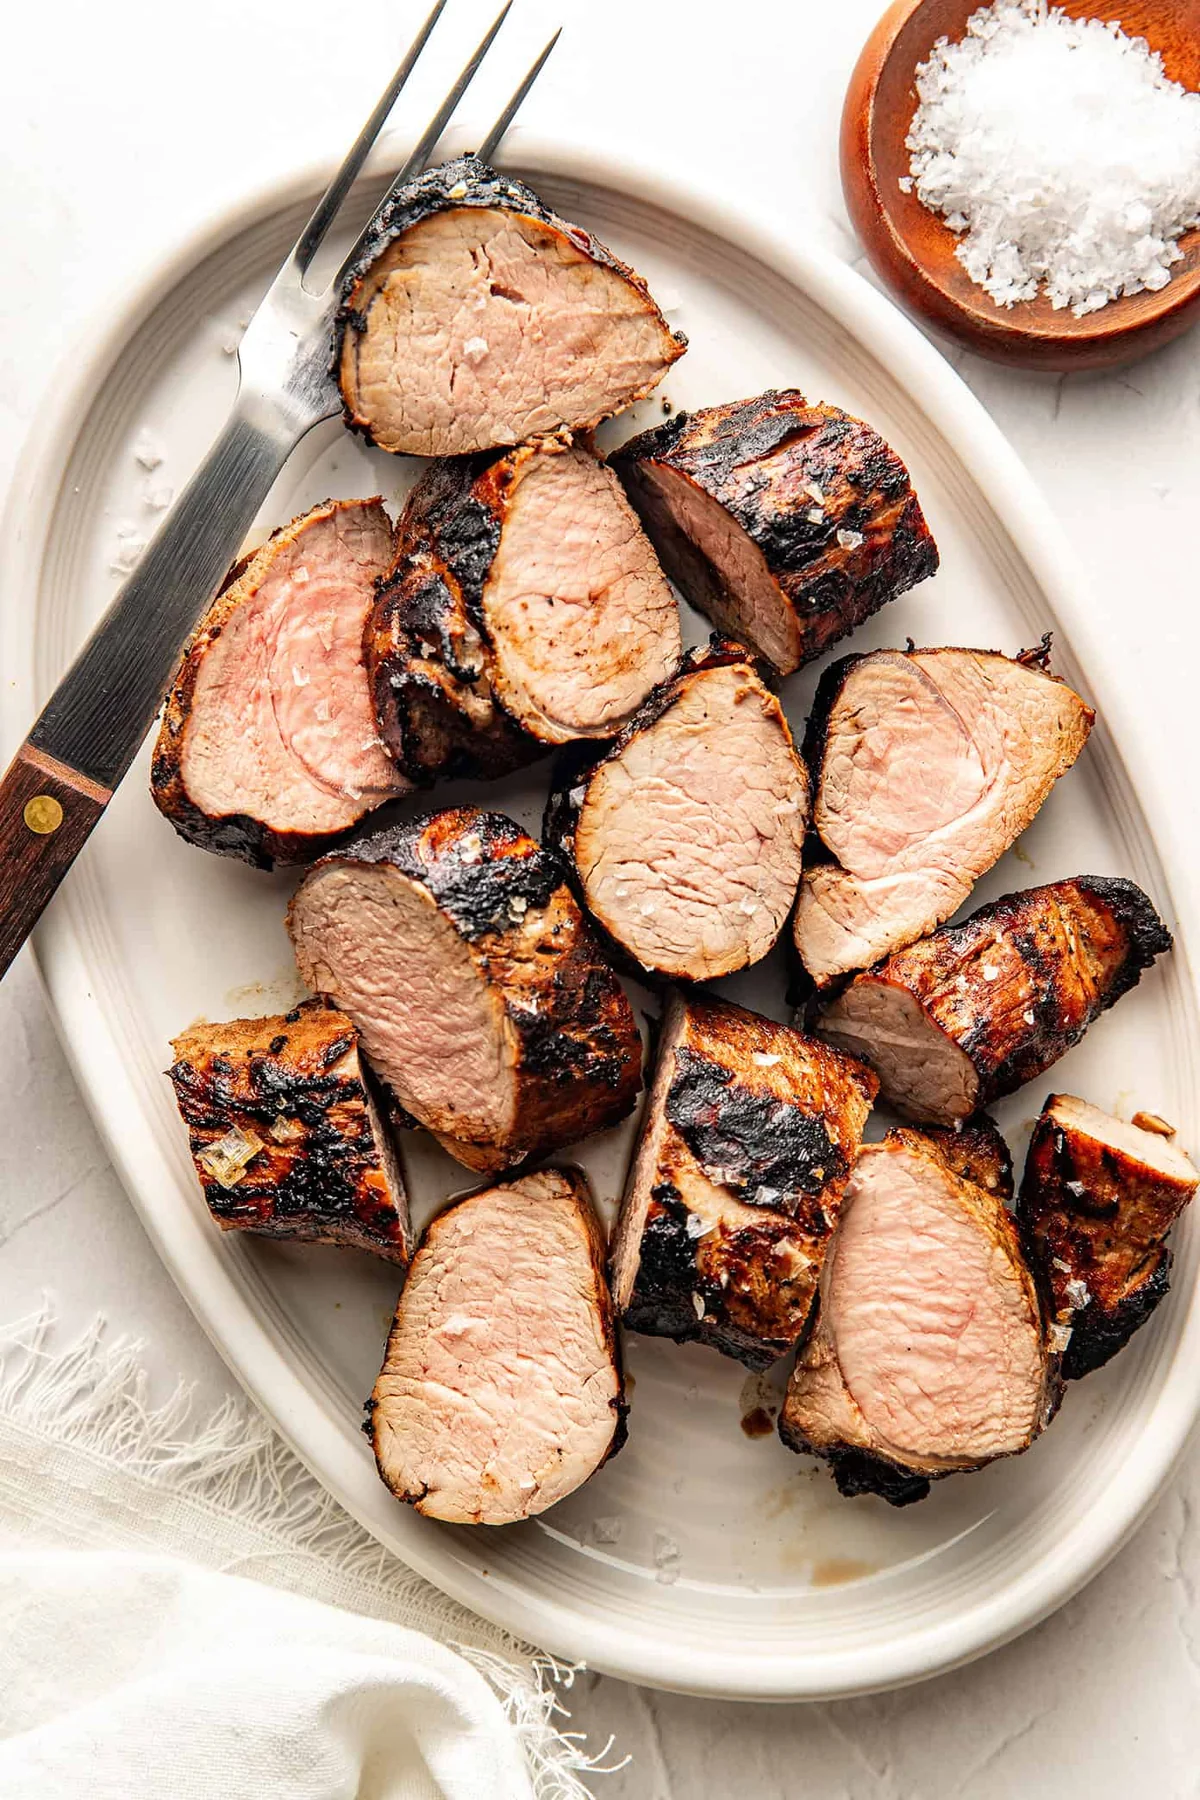
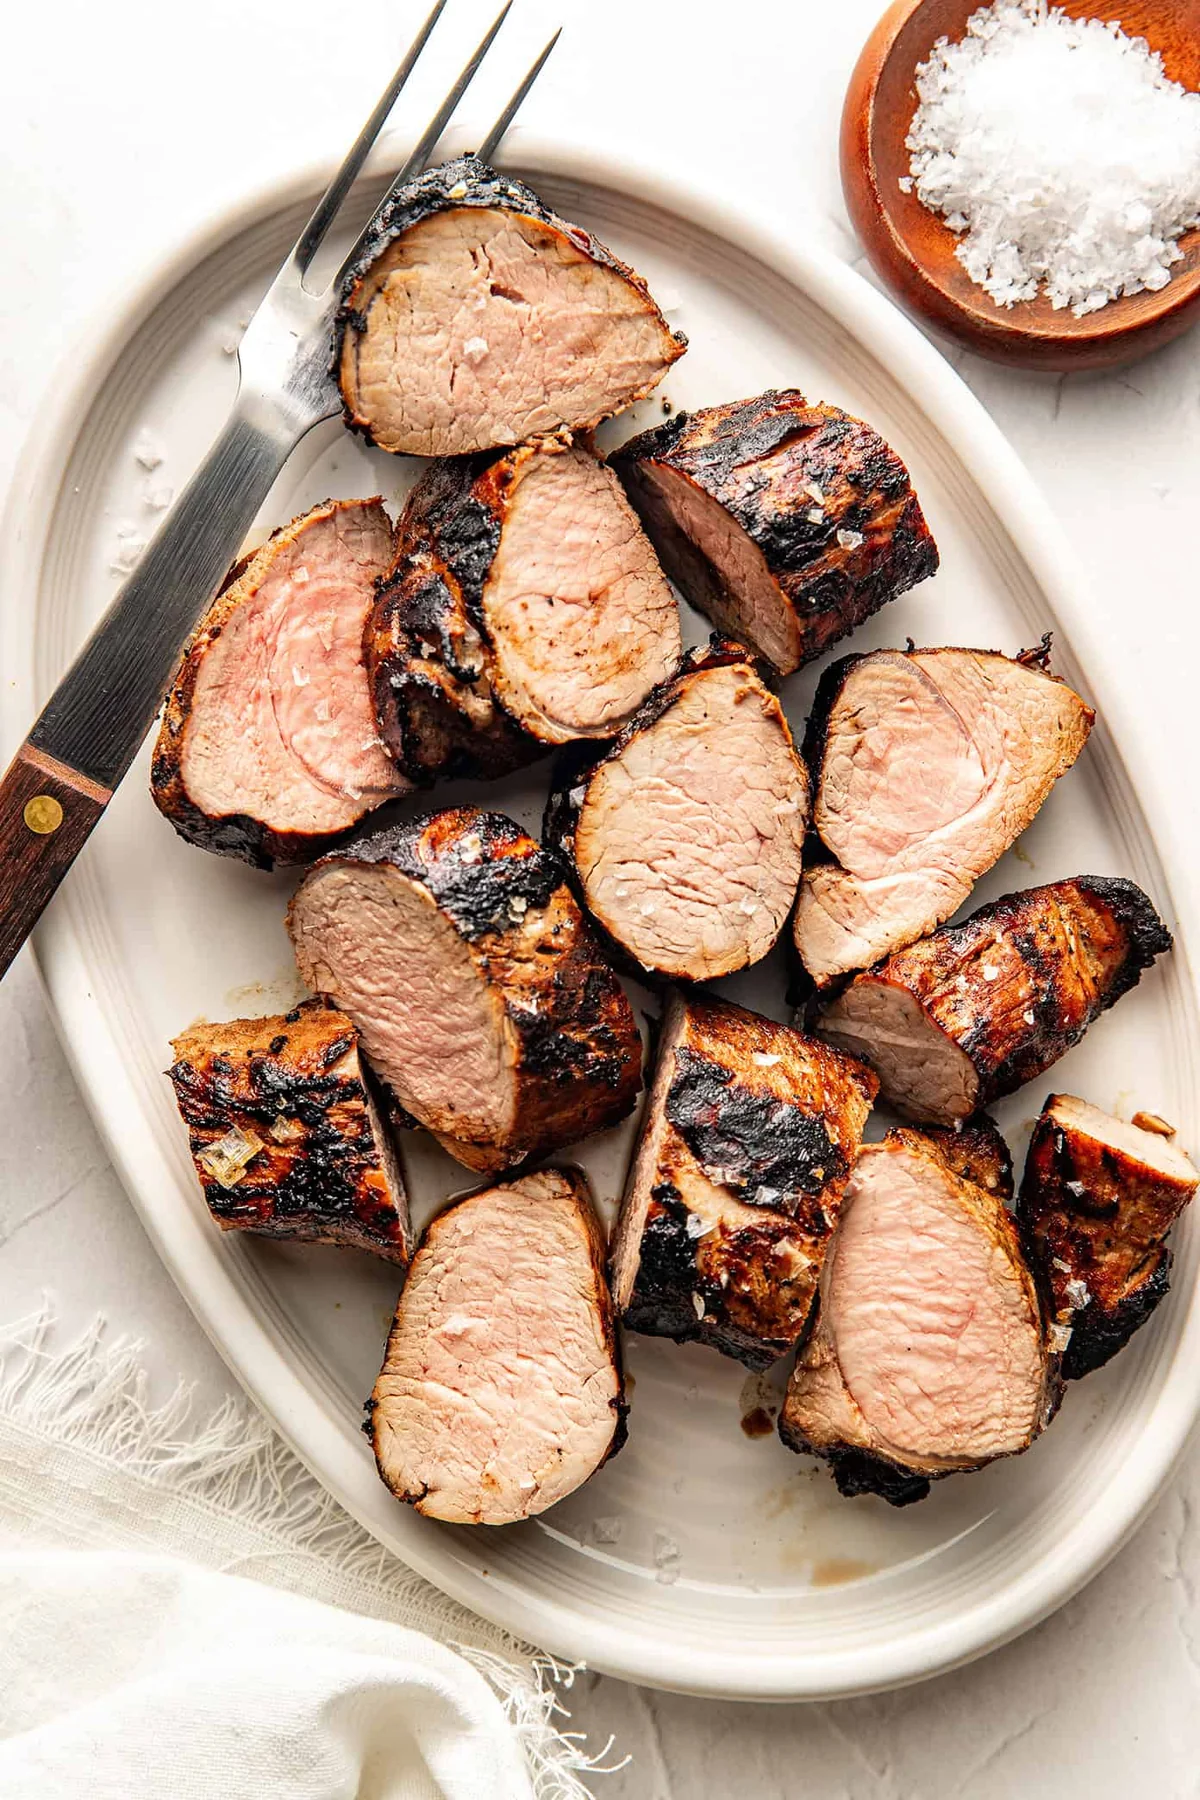
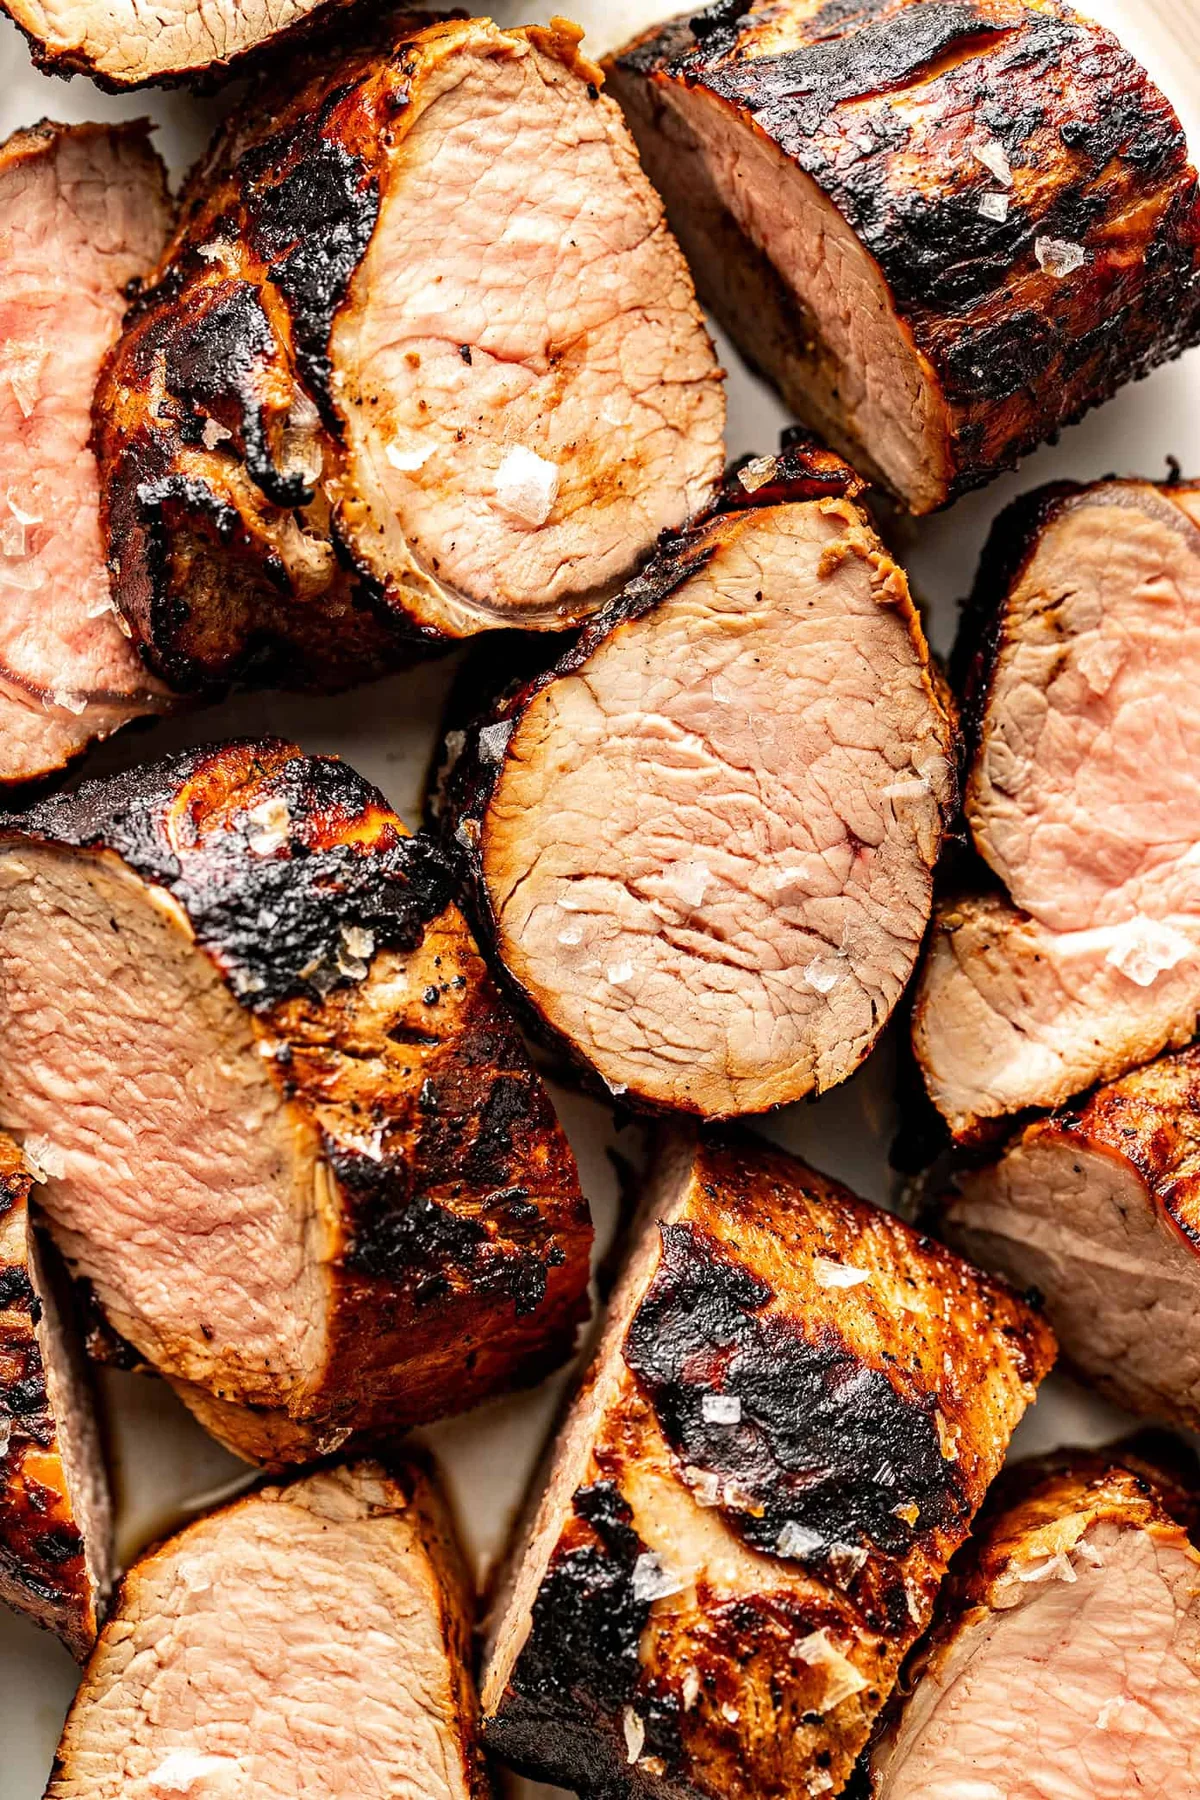
It was a Saturday morning, and I had promised the whole family brunch. The counter had a bag of frozen sweet potato tater tots, a pack of precooked turkey sausage, and a dozen eggs staring at me, and I was tired before the coffee even finished brewing. So I did what I always do when I’m behind: I dumped everything into a 9×13 baking dish, whisked the eggs with a cup of cottage cheese, and handed the next hour to the oven.
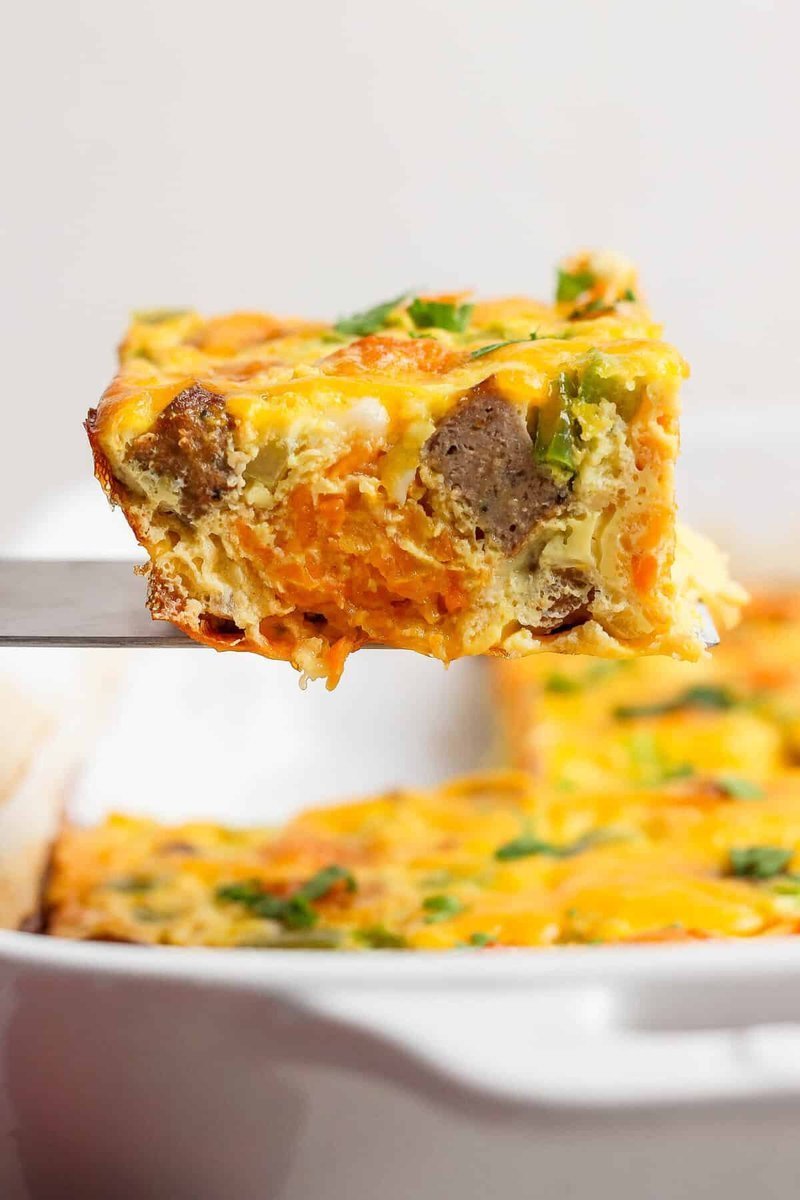
That’s the whole trick of this casserole. No pre-cooking, no babysitting. Frozen tots, raw-diced onion and pepper, chopped precooked sausage, then a creamy egg mixture over the top, and you walk away. When it came out of the oven, the top was golden and bubbling under a blanket of cheddar, and there were nine squares left in the dish. I keep a batch in the freezer for the mornings when breakfast is a negotiation I’d rather not have.
Why this one earns a spot in your rotation
It’s dump-and-bake for real: everything goes in the dish raw or frozen. The oven does the work.
It’s built on protein: 12 eggs, cottage cheese, and precooked turkey sausage. People actually stay full.
The sweet potato tots are the twist: a little sweetness and more going on nutritionally than regular tots.
Nine generous squares: good for weekend brunch, holiday mornings, or a week of breakfasts you’ll reheat without regret.
The ingredients, honestly
A few of these are worth understanding before you shop.
Sweet potato tater tots (20 oz / about 565 g frozen): the star. They keep their shape in the oven and give the base a light sweetness and a bit of crisp. I’ve used the Alexia brand, but honestly any brand works.
Precooked turkey sausage (12 links): precooked means zero extra prep. Aidells chicken-apple sausage has a nice hint of sweetness; any precooked sausage will do.
Cottage cheese (1 cup / 240 ml): the secret ingredient. It makes the egg base creamy without a drop of heavy cream or milk, and it quietly adds protein.
Hot sauce (1 tablespoon / 15 ml): just a tablespoon. You won’t taste heat, just a little extra depth that balances the sweetness.
Cheddar cheese (1 cup / about 115 g shredded): the golden bubbly finish. That’s the part you’re waiting for.
The rest is the boring, good kind of list:
1/2 medium white onion, diced
1 large green pepper, diced
3 cloves garlic, minced
12 large eggs, lightly beaten
1/2 teaspoon salt
How to make it
Real time: 1 hour 20 minutes. Hands-on: about 15.
Preheat the oven to 375°F (about 190°C). Lightly spray a 9×13-inch baking dish.
Put everything in the dish except the cheddar: the frozen tots, onion, pepper, garlic, chopped sausage, beaten eggs, cottage cheese, salt, and hot sauce. Stir until it’s all mixed, and press down gently so the egg covers every tot and every piece of sausage. That’s the difference between even cooking and a dry corner.
Cover and bake for 45 minutes. The cover keeps the eggs cooking through before the top has a chance to brown.
Uncover and bake 15 more minutes until the eggs are set and no longer jiggly in the center.
Crank the oven up to 400°F (about 205°C), pile the cheddar over the top, and bake until it’s melted and golden brown.
Let it rest 5 minutes before slicing. The squares hold together so much better. Then cut into nine squares and serve.
Done is simple to check: the eggs are set with no jiggly center, the top is lightly golden, and the cheese is bubbly. If you have an instant-read thermometer, the center should read at least 160°F (71°C).
Tips from my own failures
Cover first, uncover later. Skipping the covered phase is how I ended up with a browned top and a raw middle twice in a row. 45 covered, 15 uncovered.
The rest is not optional. Five minutes lets the eggs firm up. Slice early and your squares crumble.
Press the egg mixture down after stirring. Every ingredient should sit under the liquid, or you’ll get pale, dry spots.
Any precooked sausage works: chicken, pork, or plant-based links. Bacon and diced ham work too.
Make it yours
Different cheese: swap the cheddar for pepper jack, Gruyère, or a Mexican blend.
Different protein: crumbled bacon, diced ham, or plant-based sausage links instead of turkey sausage.
Add greens: stir in a couple of handfuls of fresh spinach or chopped kale before baking.
Add mushrooms: sliced cremini or baby bella, tossed in with the rest.
Can’t find sweet potato tots? Regular frozen tater tots work fine. You lose a little of the sweetness, but that’s about it.
Storage and reheating
Leftover squares keep in an airtight container in the fridge for up to 5 days. To freeze, wrap individual squares tightly in plastic wrap and keep them in a freezer-safe bag for up to 3 months. Reheat a square in the microwave for 1 to 2 minutes, or in a 350°F (180°C) oven for 10 to 15 minutes until heated through. Straight from the freezer: 2 to 3 minutes in the microwave, or 15 to 20 minutes in the 350°F oven.
Can you make it ahead?
Yes, and it’s the best version. Assemble it the night before, cover it tightly, and keep it in the fridge. In the morning it goes straight into the oven, cold and all. You’ll want to add 5 to 10 minutes of baking time since it’s starting from the fridge.
Nutrition (per square, approximate)
452 calories, 16 g carbs, 42 g protein, 23 g fat, 2 g fiber, 4 g sugar. Auto-calculated, so treat it as a rough guide.
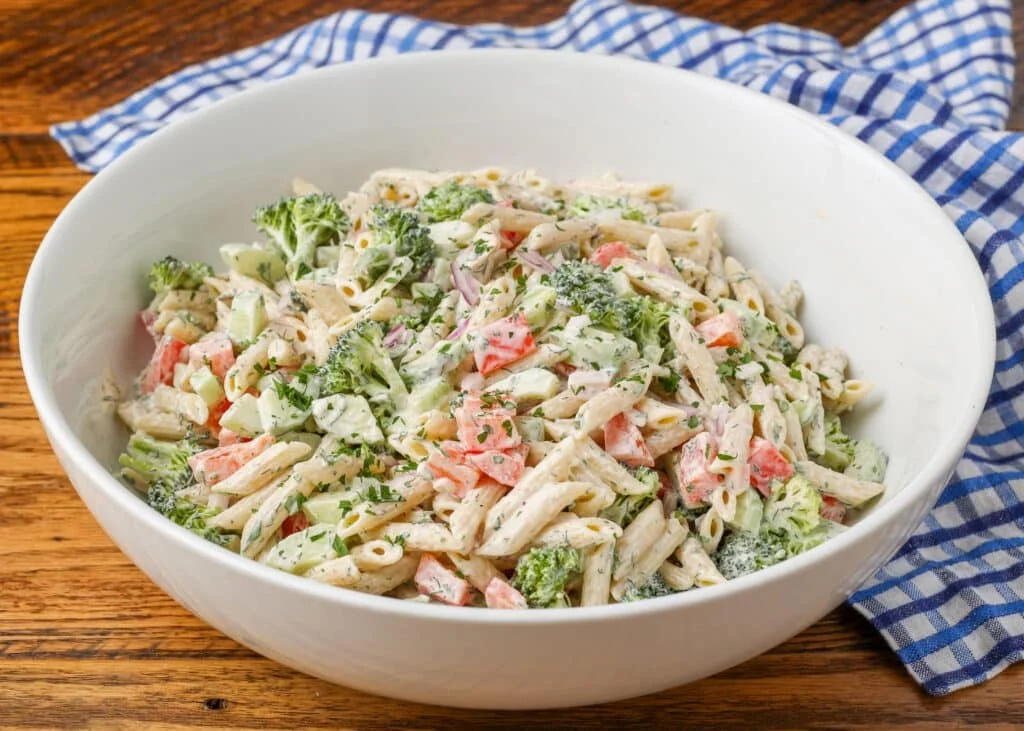
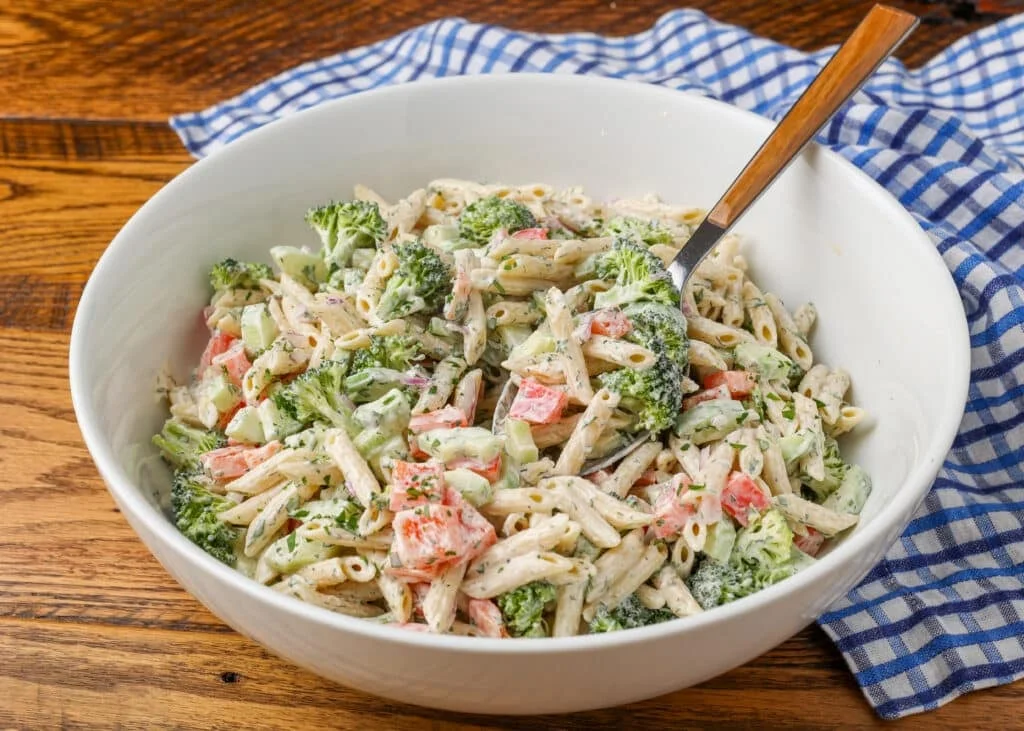
It was a hot, tired weeknight when I made this for the third time that week, and I swear it got better every single time. The kids were home early, the AC was doing its best, and I was not in the mood to babysit a casserole. What I was in the mood for was a big bowl of cold pasta, crunchy vegetables, and that tangy ranch flavor my whole family is obsessed with.
That obsession is real. My family loves the bacon ranch pasta salad I’ve made for years, and it is a seriously hearty one — definitely a meal on its own. But for this one, I wanted that same ranch flavor with a lighter approach: fresh, crunchy vegetables instead of bacon, and a dressing you can whisk together in the same bowl the salad gets mixed in.
Real time: 20 minutes. Hands-on: about 10. One pot, one big bowl, and a knife. I’ve made it several times this summer, and it only gets easier when the vegetables are already prepped — which happens more often than you’d think once the season is in full swing.
Why This One
Pasta salads have been frequent favorites on our dinner table for years. They’re hearty enough to stand on their own, and they pair well with almost any entree when you want something heartier. This version keeps every bite full of flavor by using small pasta shapes that hold onto the dressing, and it’s the kind of thing you can double for a crowd without adding much effort.
Ingredients and Honest Substitutions
The pasta. Use small shapes that can hold lots of dressing, so every forkful tastes like ranch. My go-to here is mini penne, but any bite-size shape works.
Salt. I salt the pasta water because dried pasta is naturally bland. Cooking it in generously salted water helps it absorb flavor while it rehydrates — it’s the whole trick.
The vegetables. Broccoli, cucumber, and red bell pepper for cool, fresh crunch. I also add red onion for a sharp, bright note. Want something milder? Green onions work nicely here instead.
Fresh parsley. Scattering chopped parsley over the top at the finish brightens the whole salad. It’s more than a garnish, I promise.
The dressing base. Mayonnaise and a splash of milk give it that smooth, creamy body. For the tang, I use white vinegar — but if I have fresh lemons on hand, I reach for one of those instead, because fresh lemon juice rounds out the ranch flavor in a way vinegar can’t quite match.
Herbs and spices. Dried dill, parsley, and chives, plus garlic powder, onion powder, salt, and pepper. That’s the whole seasoning stack — nothing you can’t find in a pantry.
What You Need
A large mixing bowl — big enough to toss the salad in, not just mix the dressing
A colander
A chef’s knife. Food prep is so much easier with a good one. I’ve had mine for over 10 years now and still reach for it every single day.
A spoonula or a large spoon
How to Make It
Start a pot of water on the stove and bring it to a boil.
While the water heats, wash and chop everything: the cucumber (seeds removed), the broccoli into florets, the bell pepper, the red onion, and the parsley. Set it all aside.
Cook the pasta according to the package directions, with a generous amount of kosher salt in the water. I add a tablespoon or so — salted water is where the flavor lives.
Drain the pasta and rinse it with cold water until it’s cold. The cold rinse fully stops the cooking; warm pasta keeps cooking and can turn sticky. Let it drain in the colander while you make the dressing.
In the big bowl, whisk the mayonnaise and milk until smooth.
Add the dill, parsley, chives, garlic powder, onion powder, salt, and pepper. Whisk until combined.
Add the vinegar and taste. Adjust the seasonings to where you want them — that’s the fun part.
Add the cold pasta, onion, cucumber, broccoli, and bell pepper to the bowl. Toss gently until everything is coated.
Taste again. Adjust if needed.
Sprinkle the fresh parsley over the top and stir it through.
Cover and refrigerate until you’re ready to serve. Give it one last stir just before it goes on the table.
Tips That Actually Matter
Watch the moisture. The dressing only brings the salad together if there’s no extra water fighting it. Pat the produce dry after washing, and let the pasta fully drain before it hits the bowl. This is the difference between a salad that holds and one that soups out.
Keep the chop even. I cut everything into uniform, bite-sized pieces, about ½ inch. You get a little bit of everything in every bite, and honestly it just tastes better.
Keep some dressing back. If the salad gets a little dry after resting in the fridge for a day or two, stir in a tablespoon or two of extra dressing and toss to bring it back to life. No extra ranch on hand? A spoonful of mayo does the trick.
Make it ahead, on purpose. I double this for a family meal and eat the leftovers for the next few days. It keeps in an airtight container in the fridge for 3-4 days without any issues.
Serving Suggestions
I’ve served this with grilled chicken thighs — my summer staple, at least once a week, and any of our friends will attest. It’s also terrific with grilled chicken sandwiches or a burger. Cold pasta, warm protein, done.
FAQ
Do I need to cook the vegetables first? Nope. Everything goes in fresh — just wash and chop it into bite-sized pieces.
What consistency should the ranch dressing be? Just thin enough to pour smoothly, but not watery.
My dressing is too thick or too thin. Help. Too thick: add milk a teaspoon at a time, whisking as you go. Too thin: work in a tablespoon of mayonnaise until it’s right.
Make It Yours
Already have homemade ranch? Swap ½ cup of it straight in for the dressing ingredients and skip the whole seasoning step — the salad comes together even faster. From there, it’s yours: add corn, halved cherry tomatoes, or crumbled bacon if your family is in a full-commitment mood. And if you’ve got a favorite small pasta shape, use it. The ranch flavor is the point, and it forgives a lot.
The first time I tried these, the shrimp came out rubbery and I nearly gave up on the whole thing. The second time I did the same thing. By the third, I figured out the one mistake everyone makes with this dish, and now it’s one of the things we actually look forward to grilling in the warm months.
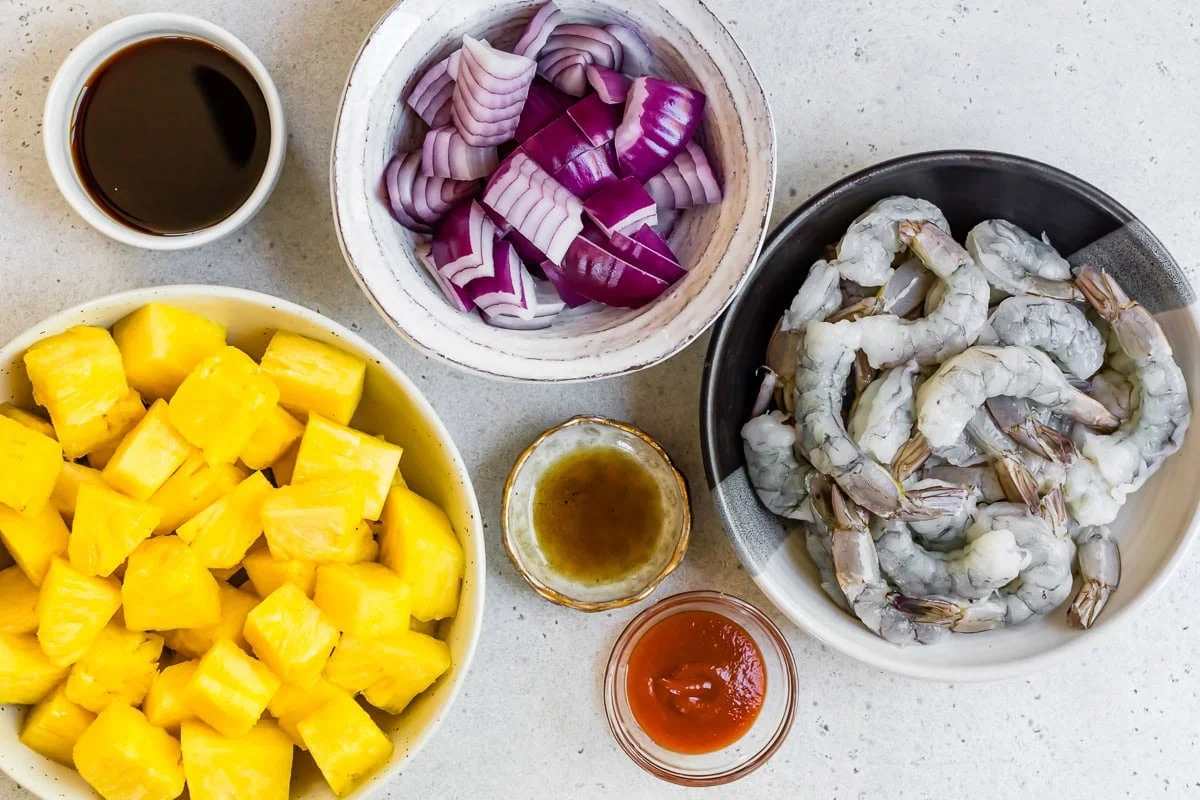
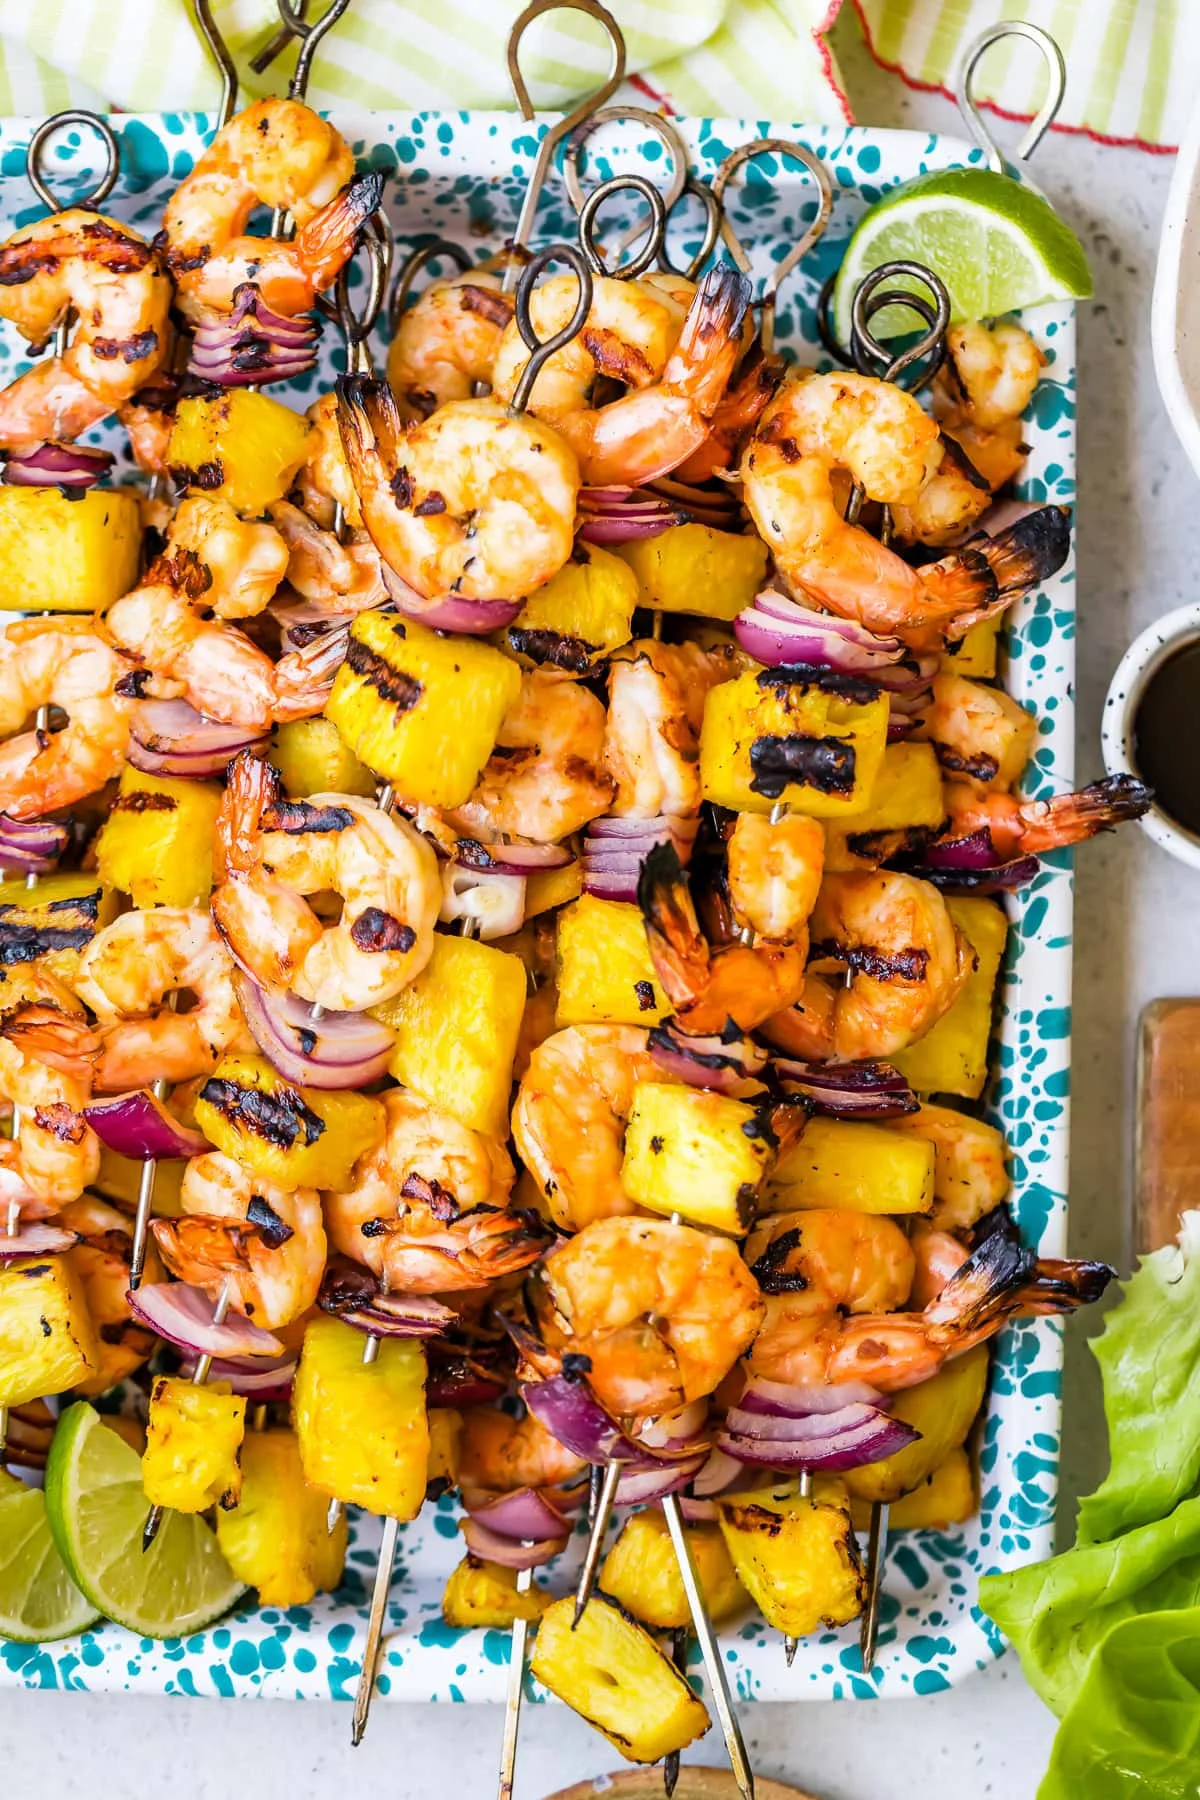
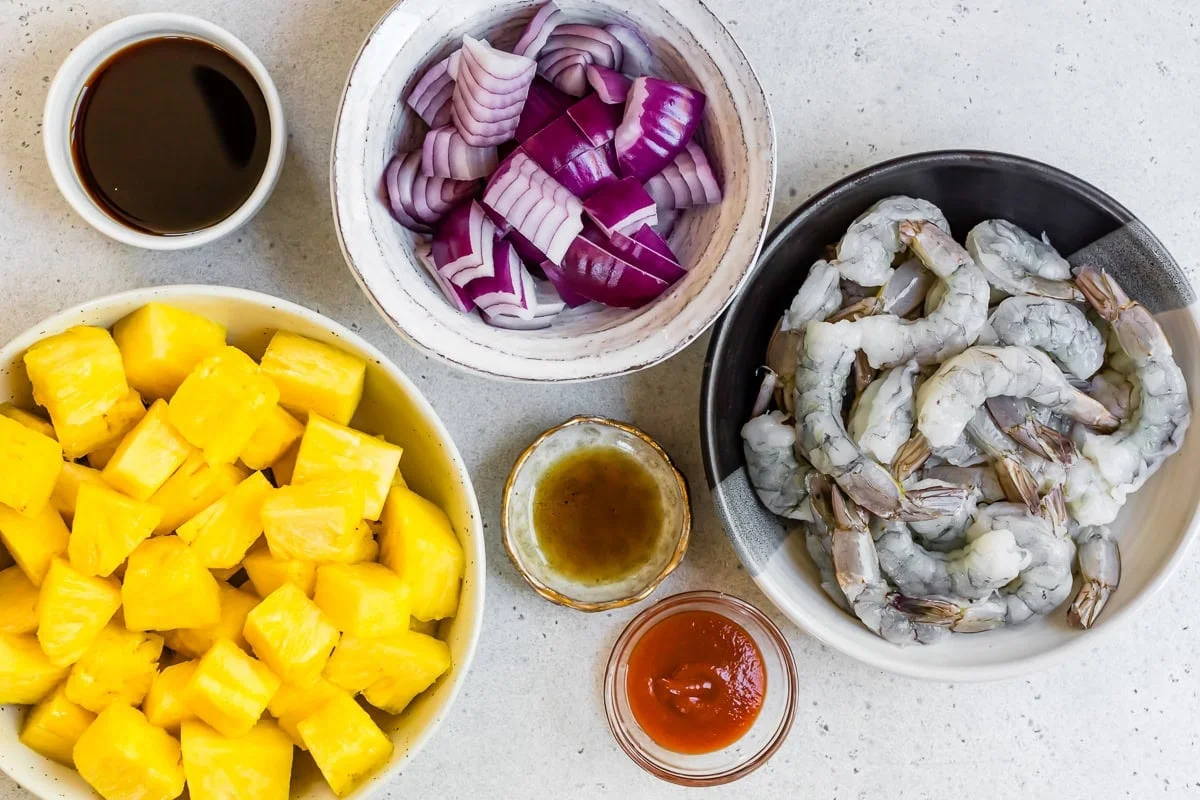
Here’s the whole idea: shrimp, pineapple, and red onion on a skewer, coated in a glaze of soy sauce, garlic, and a little sambal oelek for heat. The pineapple gets all caramelized and sticky on the grill, the onion mellows out and gets sweet, and the shrimp stay juicy because they cook in under 8 minutes. It’s a meal that doesn’t ask much of you, which is exactly what most summer dinners should be.
Real time: 30 minutes. Hands-on: about 20.
You don’t even have to marinate the shrimp, and that’s the part I love. A few minutes in the glaze, straight onto the grill, done. This works for a lazy Tuesday, a poolside party, or any night you want something light that still feels like you put something together.
What you’ll need
Before anything else: you’ll want 8 small skewers or 4 long ones. If they’re wooden, soak them in water for at least 30 minutes so they don’t torch on the grill. Mine are metal, which saves the soaking step entirely.
Sambal oelek — a spicy Southeast Asian chili sauce. If your grocery store doesn’t carry it, sriracha works fine in its place.
Extra-large shrimp — peeled and deveined, tails on if you like the look of it. The supermarket sells them ready to go, and honestly, buy them that way. If you’re starting from frozen, thaw them in the fridge the day before.
Pineapple — fresh is best here. Canned works in a pinch, but it turns mushier on the grill and doesn’t caramelize nearly as well.
Red onion — sounds weird on a skewer, but grilled red onion turns genuinely sweet. It’s a favorite of mine.
The glaze itself is just three things: sambal oelek, toasted sesame oil, and low-sodium soy sauce. That’s it. Two teaspoons of each, plus 2 tablespoons of soy. If you’re keeping it gluten-free, swap in tamari.
How to make it
The night before, if you’re feeling organized: make the glaze, cube the pineapple, chop the onion, and get the skewers soaking. Everything else takes about 20 minutes the day of.
Whisk the sambal oelek, sesame oil, and soy sauce together in a bowl until it’s combined.
Add the shrimp, pineapple, and red onion to the bowl and toss everything so it’s coated.
Thread the shrimp, pineapple, and onion onto the skewers. I keep them on a foil-lined baking sheet while I get the grill going.
Preheat your grill to medium-high and oil the grates. Easiest trick I know: pour a little avocado oil onto a wad of paper towels and rub it across the grates with tongs.
Give the skewers a light spray of oil, then lay them on the grill in an even layer. Cook 2 minutes per side, until the shrimp is opaque and you’ve got some nice char.
Slide them off the grill and onto a clean sheet, and serve with extra soy sauce on the side.
No grill? No problem.
A grill pan or a cast-iron skillet over medium-high heat gets you the same char, and you can skip the skewers entirely and just cook it in a pan. Oven works too — 350°F (about 175°C) for 10 to 15 minutes. An air fryer does them in 5 to 6 minutes at 400°F.
Serve it like a build-your-own table
I serve these with rice — white or brown — and a head of butter lettuce, plus the leftover glaze or a little extra soy sauce on the side. People pile theirs into a rice bowl or wrap everything in a lettuce leaf. It keeps the whole table happy, whatever everyone’s actually into.
If you want a veggie to go alongside, I keep a simple list in my back pocket: grilled zucchini, a carrot and ginger dressing for a salad, an Asian-style mango slaw, or some spiced garlic edamame. All of them are quick, and all of them disappear fast.
Leftovers and storage
These keep in the fridge for up to 3 days. To reheat, take the shrimp and pineapple off the skewers and warm them in the microwave or in a skillet over medium-low. Reheating shrimp on a skewer tends to dry it out, so this small step makes a real difference.
Make it yours
Short on heat? Swap the sambal oelek for sriracha.
Gluten-free? Tamari in place of soy sauce.
Shrimp allergic at the table? Chicken thighs, salmon, or flank steak all work on these skewers — just adjust the cook time, since none of them cook as fast as shrimp.
Want more volume? Thread on zucchini, squash, or bell pepper alongside the shrimp.
One last note, because this is the one that tripped me up: don’t let the shrimp sit in the pineapple glaze. The enzymes in the fruit start breaking the shrimp down and it goes mushy. Toss, thread, grill — right away.
The text came in at 5:40. “We’ll be there in 20.” My kitchen was a mess, the oven was cold, and I had exactly one ingredient that could save me: a log of goat cheese on the counter, softening while I worked.
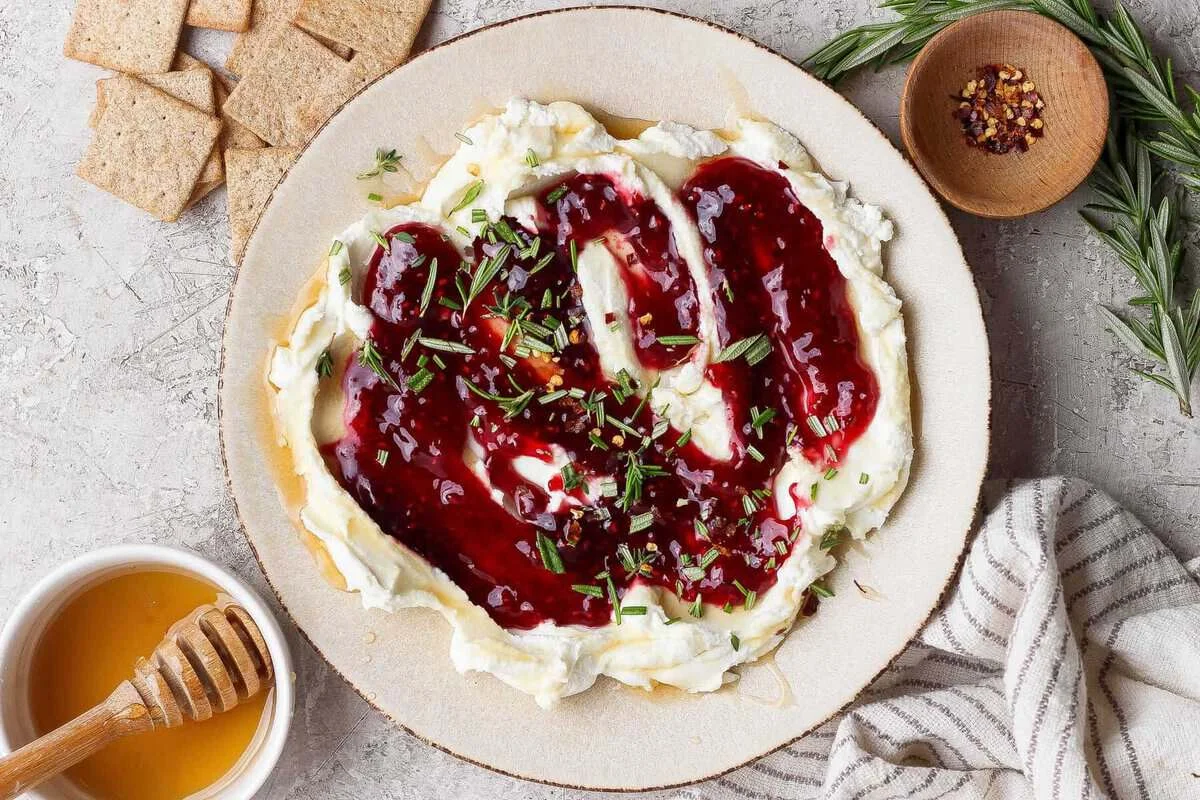
Twenty minutes later, guests walked in to what looked like a styled appetizer spread. It took five minutes to make and zero cooking. I’m not sorry that I never told them.
Why this dip actually works
Sweet, spicy, tangy — all in one bite. The raspberry jam does the sweet work, the hot honey brings the heat, and the goat cheese brings the tang that ties it together. It’s the kind of thing people ask about, then laugh when you explain how little went into it.
Real time: 5 minutes. Hands-on: 5 minutes. Prep 15–20 minutes earlier and let the cheese soften, and you’re in and out before the doorbell rings.
What you need
4 oz. (about 113 g) plain goat cheese in a log, softened
3 tablespoons raspberry jam
2 tablespoons hot honey
1/4 teaspoon red pepper flakes
Fresh herbs for garnish — basil, thyme, or rosemary
A few honest notes before you start:
Goat cheese: Use a plain 4 oz. log, not pre-crumbled. Let it sit at room temperature for 15–20 minutes so it spreads like cream, not like gravel. Skip aged or firm chèvre — you want soft and spreadable.
Raspberry jam: Any brand works. I keep Bonne Maman on hand. Seeded jam adds a little more texture; seedless is smoother. Your call.
Hot honey: Mike’s Hot Honey or any store-bought version is fine. No hot honey? Drizzle regular honey and add an extra pinch of red pepper flakes.
Red pepper flakes: A little goes a long way — they’re there for a visible kick and a little extra heat on top of the honey.
How to make it
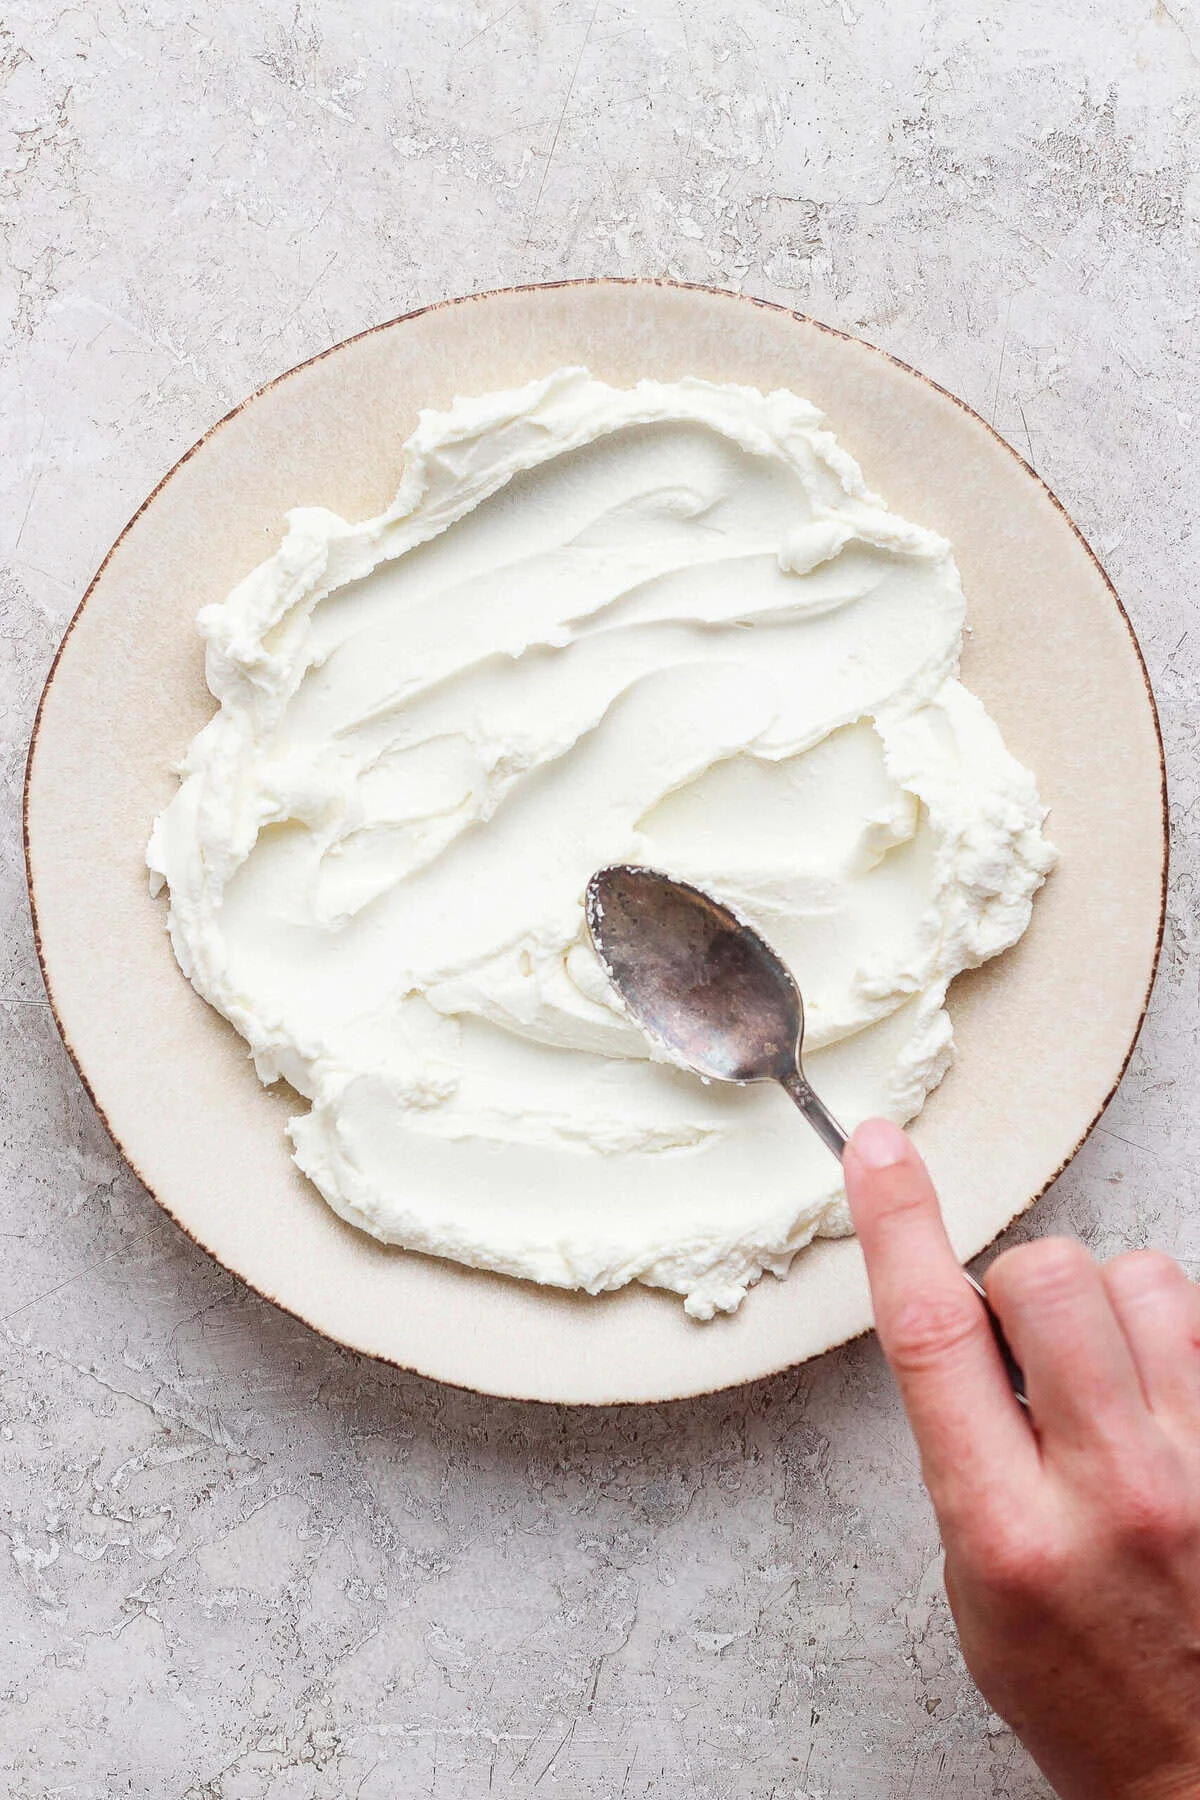
Spread the softened goat cheese over a platter or wide plate using the back of a spoon or an offset spatula. Don’t make it flat — leave swoops and ridges so the jam and honey have somewhere to pool.
Spread the raspberry jam over the cheese in an even layer.
Drizzle with hot honey, then scatter the red pepper flakes and a little fresh herb over the top.
Serve immediately with crackers, sliced baguette, or whatever’s on hand.
That’s the whole recipe. Layer, don’t mix — the visual is half the point. White cheese, ruby jam, gold honey. It photographs like a styled shot, which is exactly why people never believe it took five minutes.
Tips that actually help
Cold cheese is your enemy. If you’re in a rush, microwave the log for 10 seconds. Don’t skip the softening step or the dip will crumble.
Drizzle the hot honey right before serving. It thins out as it sits. Last-minute honey means the best texture and the cleanest presentation.
Scaling up? Double or triple it freely if you’re feeding a crowd.
Make it yours
Different jam: Fig jam, apricot preserves, or pepper jelly all work beautifully.
Add crunch: Top with chopped pistachios, candied walnuts, or toasted pecans.
Make it savory: Skip the jam entirely and drizzle with pesto or sun-dried tomato spread for a Mediterranean-leaning plate.
Warm it up: Transfer to an oven-safe dish and bake at 375°F (about 190°C) for 15–20 minutes until bubbly.
Add dried fruit: Dried cranberries or chopped dried apricots bring color and chew.
What to serve it with
It dips with almost anything. My go-tos:
Wheat thins or water crackers
Sliced baguette or crostini
Vegetables — cucumber rounds, bell pepper strips, snap peas
Pita chips
Sliced apples or pears
Pretzels or pretzel crisps
Building a bigger board? Put this alongside a hummus and a baked boursin-style dip and you’ve got a three-dip spread that covers sweet, spicy, and mild.
Storage and make-ahead
Fridge: Leftovers in an airtight container for up to 3 days. The jam will soften into the cheese as it sits — still tastes great, just loses the layered look.
Make ahead: Spread the cheese on the plate, wrap tightly, and refrigerate up to 24 hours. Add jam, honey, flakes, and herbs right before serving so the layers stay distinct.
Freezing: Skip it. The texture changes once it thaws.
FAQs
Can I use cream cheese instead of goat cheese? You can, but it’s a different dip. Goat cheese has a tang that plays off the jam and honey; cream cheese is milder and loses that contrast. If goat cheese isn’t your thing, try a whipped feta base.
What kind of jam works best? Raspberry is my favorite for this — the tartness balances the cheese. Fig jam, apricot preserves, and pepper jelly are all great. Any fruit-based jam or preserve works; just avoid anything too sugary or artificially flavored.
Is this dip healthy? Goat cheese is lower in calories and fat than many other cheeses, and easier to digest for some people. This recipe uses just 4 oz. of cheese for 6 servings, so it’s a relatively light appetizer — even lighter if you’re dipping veggies instead of crackers.
Can I make it ahead? Yes. Spread the cheese, wrap tightly, and refrigerate up to 24 hours. Add the jam, hot honey, red pepper flakes, and herbs right before serving.
Do I need to bake it? No — it’s a completely no-cook recipe. The cheese softens at room temperature and spreads right onto a plate. If you want it warm and melty, bake at 375°F for 15–20 minutes.
Nutrition per serving (approximate): 99 calories, 13 g carbohydrates, 4 g protein, 4 g fat, 0.2 g fiber, 11 g sugar.
Here’s the thing about cooking for out-of-town visitors: before anyone lands, you’re on the phone asking what they actually want to eat. Favorite flavors. Cravings. The one dish they’d try if you made it. My cousin Abby called from California a couple of weeks ago and mentioned she’d been dreaming about something with bold flavor, so bang bang salmon was already on the menu before she stepped through the door.
I’ve made this bowl a few times, and the first attempt was honestly a little flat. The sauce needed more lime, and I’d undercooked the salmon. By the third time I’d nailed it, and now it’s one of those dinners I keep in my back pocket for exactly this kind of night. It comes together in about 30 minutes, it’s colorful enough to photograph, and everyone at the table leaves happy.
The whole dinner is three moving parts: whisk the sauces, roast the salmon, and toss the slaw. I always grab a bag of shredded coleslaw mix to save myself a little time, and in summer I grill the salmon instead of using the broiler. The sauce caramelizes beautifully on the grill, the edges get lightly charred, and dinner is basically done while the rice finishes cooking.
Real time: 30 minutes / Hands-on: about 25 minutes / Effort: easy. Serves 6, with roughly 489 calories a bowl (estimated).
What you’ll need
Bang bang sauce
1/2 cup mayo
1/3 cup sweet Thai chili sauce
2 teaspoons lime zest
Pineapple slaw
1 bag coleslaw mix (or 3 cups shredded cabbage)
2 cups chopped fresh pineapple
1/2 cup chopped fresh cilantro and basil
Bowls
4 salmon fillets (4 to 6 ounces each), cut into bite-size chunks
1 teaspoon chipotle chili powder
1 tablespoon tamari or soy sauce
1/4 cup Japanese pineapple BBQ sauce or teriyaki sauce
sea salt and black pepper
2 cups cooked rice
nori sheets, sliced avocado, and green onions, for serving
Spicy soy
1/3 cup tamari or soy sauce
1/4 cup sweet Thai chili sauce
1 tablespoon toasted sesame oil
1 tablespoon toasted sesame seeds
Don’t have fresh pineapple? Chunks of fresh mango or sliced peaches work just as well in the slaw.
The steps
1. Make the bang bang sauce. Whisk the mayo, sweet Thai chili sauce, and lime zest until smooth and creamy. Set it aside.
If you can, double the batch. It’s delicious over grilled chicken, shrimp, or roasted vegetables later in the week, or tossed through a simple salad. It keeps for several days in the fridge.
2. Toss the slaw. In a large bowl, combine the coleslaw mix, pineapple, and the cilantro and basil. Add 1/4 cup of the bang bang sauce and toss until everything is evenly coated.
3. Cook the salmon. Preheat the broiler to high. Arrange the salmon on a baking sheet, toss with the chipotle chili powder, 1 tablespoon tamari or soy sauce, and salt and pepper, then spread into an even layer. Broil for 3 to 5 minutes, until lightly crisp around the edges. Spoon the Japanese pineapple BBQ sauce (or teriyaki) over the top and broil 1 minute more, just until glossy and caramelized. Watch it closely — under a broiler the salmon goes from perfectly cooked to dry fast, and it stays tender when you pull it just at cooked-through. A grill works great here too.
4. Mix the spicy soy. While the salmon cooks, whisk the 1/3 cup tamari or soy sauce, 1/4 cup sweet Thai chili sauce, 1 tablespoon toasted sesame oil, and 1 tablespoon toasted sesame seeds together.
Spoon it over the rice while the rice is still warm — that way every bite soaks up the flavor.
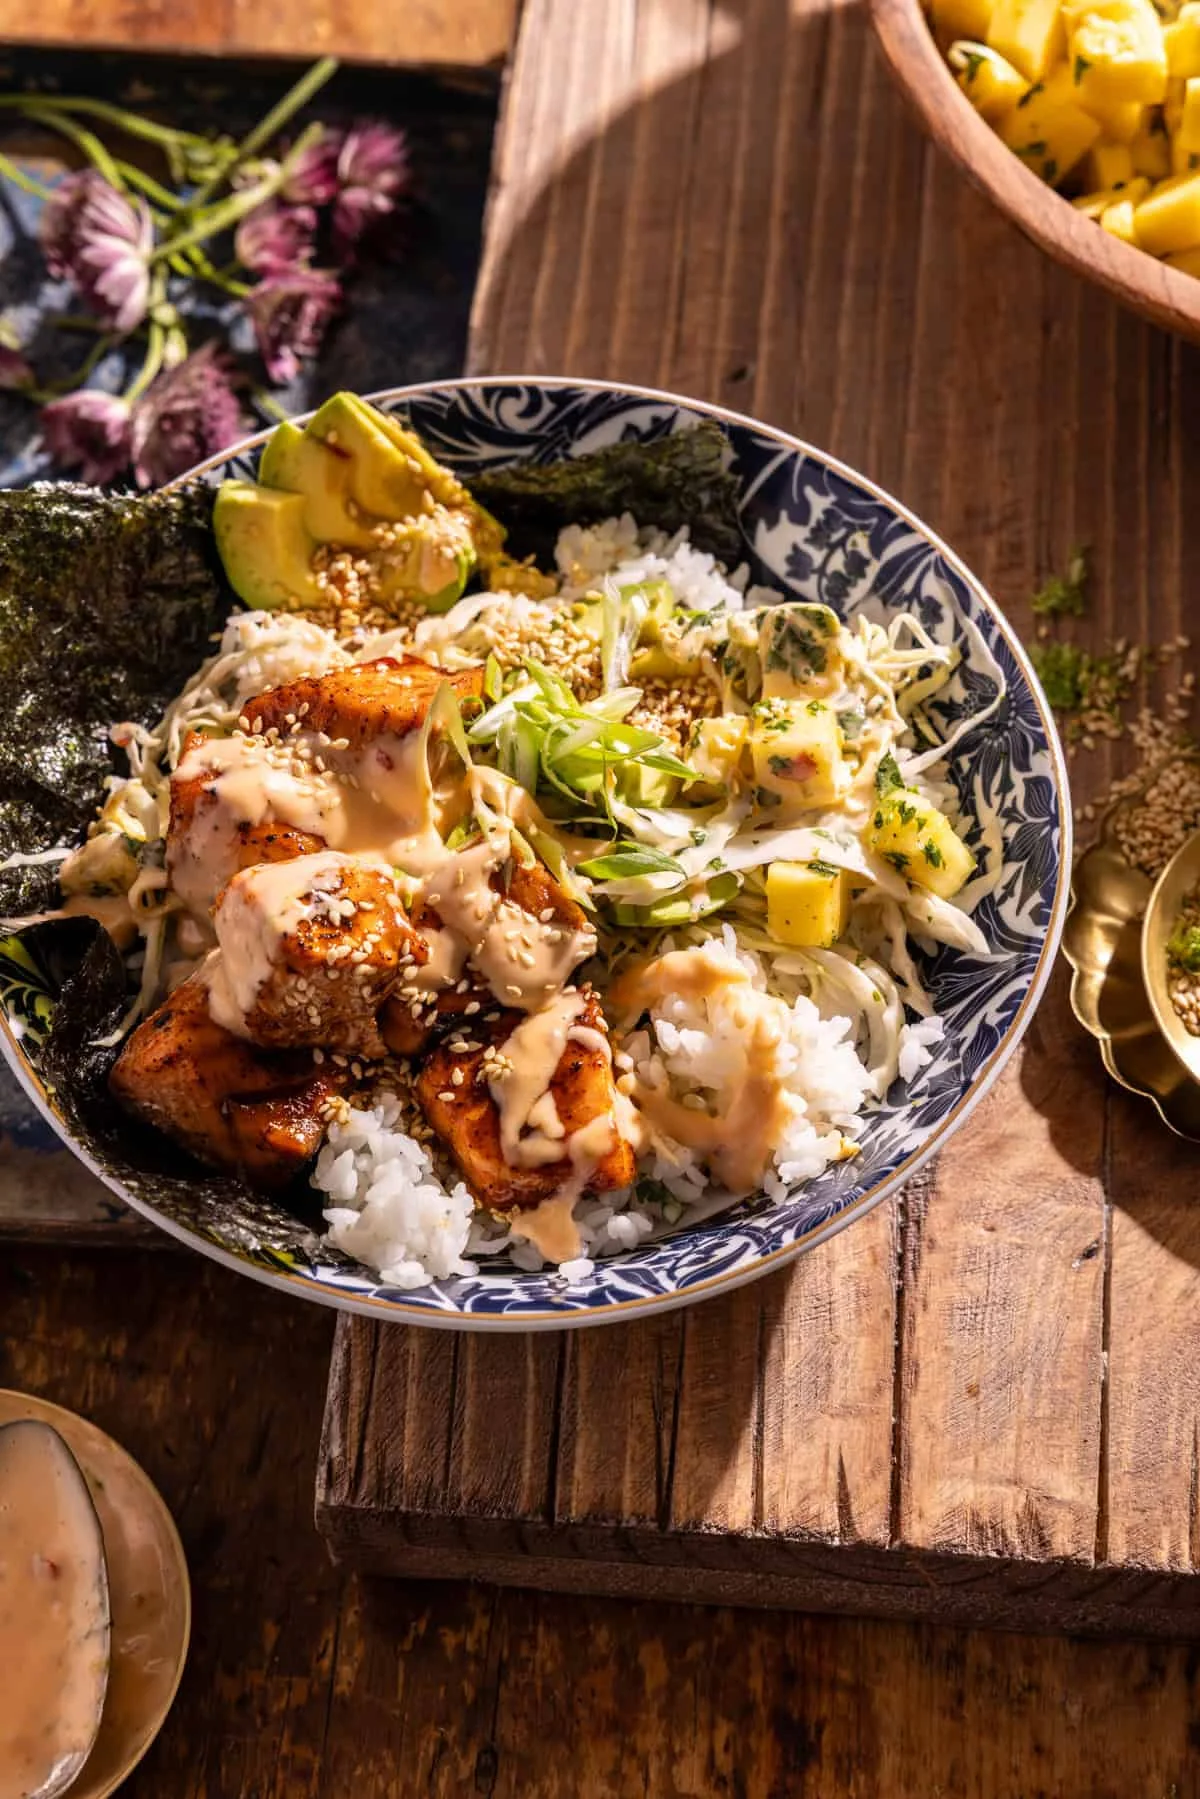
5. Build the bowls. Divide the rice among bowls and spoon the spicy soy over it. Top with the salmon, pineapple slaw, avocado, green onions, and sesame seeds, then finish with a generous drizzle of bang bang sauce. Serve with nori sheets for wrapping, or crumbled over the top.
Table tip
Turn this into a build-your-own bowl night. Line up the rice, salmon, slaw, avocado, sauces, herbs, sesame seeds, and nori across the kitchen island and let everyone build their own bowl. It’s an easy, interactive dinner, and it’s always a hit with guests.
Meal prep note
Prep the rice, salmon, spicy soy, and slaw ahead of time and store everything separately in the fridge. The only thing to wait on: toss the slaw with the bang bang sauce just before serving, so it stays crisp.
Make it yours
Swap the salmon for shrimp, grilled chicken, or steak. I grilled some steak alongside this one visit, and having two proteins on the board made the whole thing feel like a little dinner party.
My Thanksgiving grocery cart hit $400 before I’d even picked up the turkey. The side dish section alone had taken half the budget, and I still needed three more dishes. I stood in that checkout line the way you do, watching the total climb and mentally cutting recipes one by one.
Eight years in restaurant kitchens taught me one thing that still matters at home: plan the sides, and the day takes care of itself. These 26 sides feed a crowd without wrecking your budget or your sanity. The Make-Ahead Mashed Potato Casserole lets you cross potatoes off your list the night before. Sheet Pan Green Beans with Almonds means one pan to wash instead of five. Cornbread Dressing with Sausage stretches into Friday lunch.
Every dish below has a price that feeds a real number of people. Pick three tonight, write your shopping list, and watch the cart total come down.
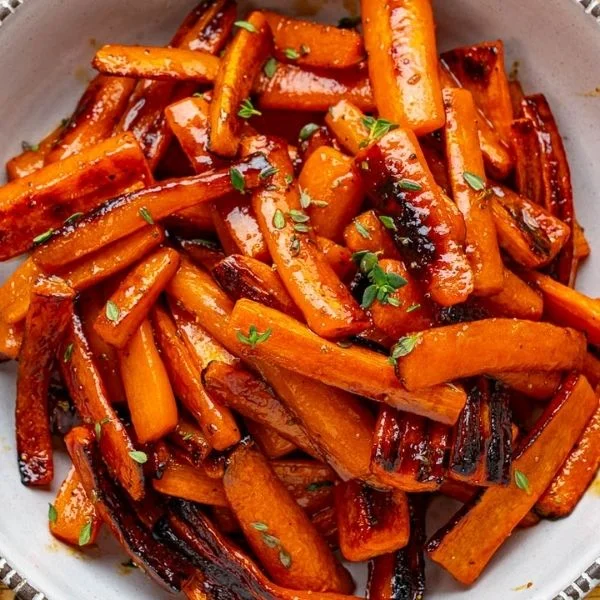
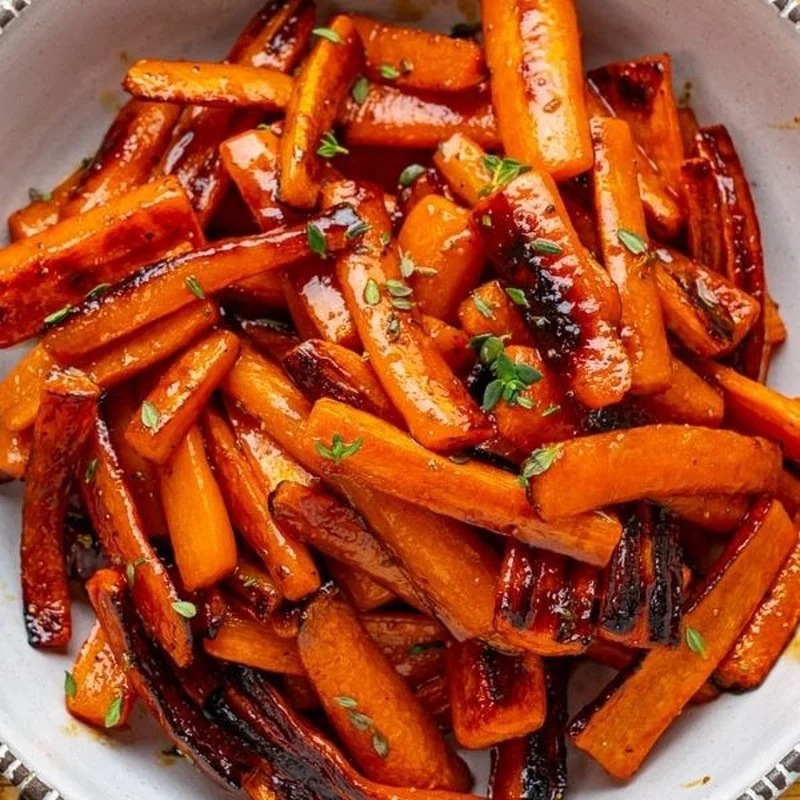
1. Honey-Glazed Roasted Carrots
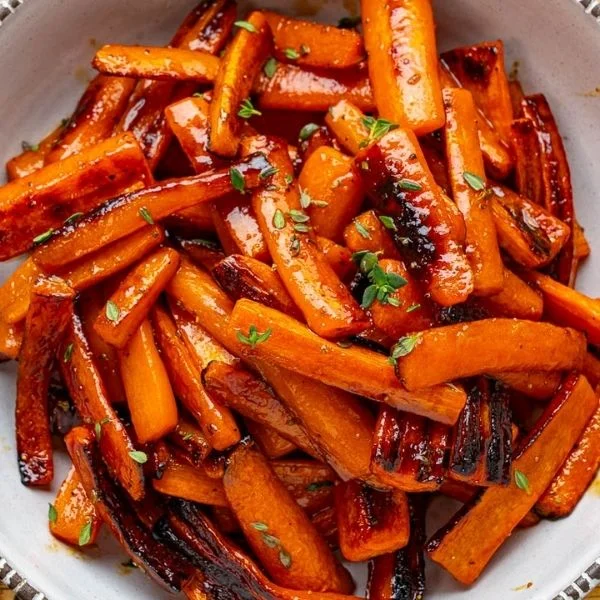
Three pounds of carrots tossed with butter, honey, and fresh thyme roast into the easiest side that looks like you spent hours on it. The whole dish runs under $8 and serves about 10 people.
Real time: 45 minutes, mostly hands-off. Hands-on: 10.
Roast them 45 minutes before dinner, while you’re dealing with everything else. The honey caramelizes as they roast, which is what makes even carrot-haters reach for seconds.
For extra flavor without extra work, drop in a few garlic cloves during the last 15 minutes of roasting.
2. Make-Ahead Mashed Potato Casserole
Your potatoes sit in a slow cooker on warm instead of you standing over the stove doing last-minute mashing. Five pounds of russets, cream cheese, sour cream, and butter cost around $12 and feed 12 people easily.
Real time: made the day before, reheats 2-3 hours on low. Hands-on: about 40 minutes, spread over two days.
Make the whole thing the day before, refrigerate it, then reheat in the slow cooker for 2-3 hours on low.
The cream cheese is what keeps them from getting gummy when reheated.
Top with extra butter and chives right before serving so they look freshly made, because they are.
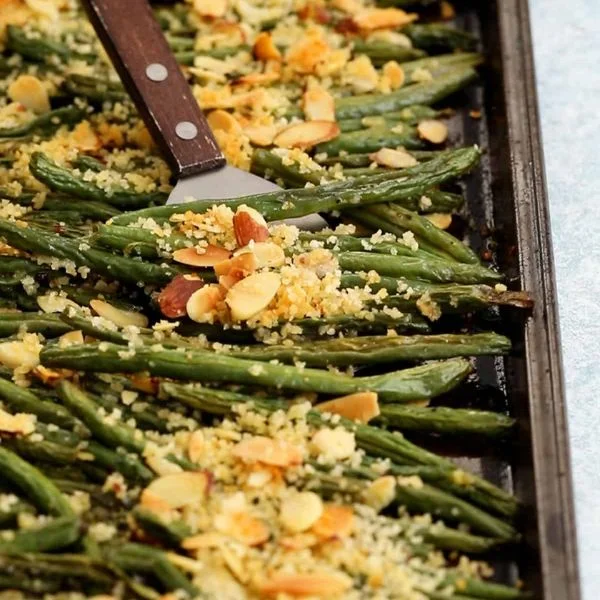
3. Sheet Pan Green Beans with Almonds
When you need a vegetable that doesn’t require babysitting, these green beans deliver. Two pounds of fresh green beans, sliced almonds, lemon, and olive oil roast on one pan in 20 minutes. Everything comes in under $7 and serves 8-10 people.
Real time: 20 minutes in the oven. Hands-on: 5.
Toss it all together and you’re done until the timer goes off. The almonds get toasty and crunchy without any stovetop toasting.
Squeeze fresh lemon over them right before serving. That bright flavor cuts through all the heavy Thanksgiving dishes.
4. Cornbread Dressing with Sausage
A 9×13 pan of this feeds 12 people for around $15, and you can prep everything except the baking the night before. Two boxes of cornbread mix, a pound of breakfast sausage, celery, onions, and chicken broth do all the work.
Real time: about an hour of baking. Hands-on: 30 minutes, the night before.
Crumble the cornbread after it cools, so imperfect pieces don’t matter at all.
Brown the sausage while the cornbread bakes, then mix everything and refrigerate until Thanksgiving morning.
Bake in about an hour at 350°F. Add extra broth if you like it more moist; less if you prefer crusty edges.
5. Roasted Brussels Sprouts with Bacon
Kids who swear they hate Brussels sprouts will eat these, because bacon makes everything better. Two pounds of halved sprouts and half a pound of chopped bacon come in around $10 and serve 8 people.
Real time: 35 minutes in the oven. Hands-on: 10.
Everything roasts together on one sheet pan for 35 minutes while you work on other dishes. The bacon renders and seasons the sprouts as they cook, so you don’t need much else.
Trim the ends and cut them in half the night before to save prep time on the big day. Finish with a drizzle of balsamic vinegar if you want to get fancy.
6. Cranberry-Orange Relish
This fresh, no-cook side takes 5 minutes in a food processor and costs under $5 for 12 servings. One bag of fresh cranberries, an orange, and sugar get pulsed together until chunky.
Real time: 5 minutes, plus 2-3 days of chilling. Hands-on: 5.
Make it 2-3 days ahead so the flavors blend and one task is completely off your plate.
It’s way better than canned sauce, and guests always think you worked harder than you did. Add a little orange zest for extra citrus punch without more work.
7. Slow Cooker Sweet Potato Casserole
Your oven stays free for the turkey while sweet potatoes cook hands-off in the slow cooker. Five pounds of sweet potatoes, brown sugar, butter, and marshmallows run about $10 and feed 12 people.
Real time: 4-5 hours on low, then 30 minutes topped. Hands-on: 20.
Cook the mashed sweet potato base on low for 4-5 hours, then top with marshmallows during the last 30 minutes.
You can peel and cube the potatoes the night before and store them in water in the fridge. No one knows they didn’t come from the oven.
Use mini marshmallows because they melt more evenly than the big ones.
8. Garlic-Parmesan Dinner Rolls
Two dozen rolls from Rhodes frozen dough cost about $5 and taste homemade after you brush them with garlic butter. Let them rise while you prep other dishes, bake for 15 minutes, and you’re done.
Real time: about 20 minutes of hands-on work. The rest is the dough doing its quiet thing.
Brush them with melted butter mixed with garlic powder and grated Parmesan right when they come out of the oven.
Even people who bake their own bread can’t tell these started frozen. They reheat the next day beautifully, if you have leftovers, which you probably won’t.
9. Maple-Glazed Roasted Butternut Squash
For those days when you need something colorful on the table, cubed butternut squash delivers. One large squash costs about $4 at most grocery stores and serves 8 people as a side.
Real time: 35-40 minutes in the oven. Hands-on: 15.
Toss the cubes with maple syrup, olive oil, and a little cinnamon, then roast for 35-40 minutes.
Buy pre-cubed squash if your store carries it, because cutting through that thick skin is nobody’s idea of fun. The maple caramelizes on the edges and makes the whole dish taste more special than the five ingredients suggest.
Sprinkle with pepitas during the last 5 minutes of roasting for crunch.
10. Scalloped Corn Casserole
This shows up at every Southern Thanksgiving for good reason. Two boxes of Jiffy corn muffin mix, canned corn, sour cream, and butter bake into 12 servings for under $8 total.
Real time: 45 minutes baking, assembled the night before. Hands-on: 10.
Mix everything in one bowl, pour into a 9×13 pan, and bake for 45 minutes. The texture lands somewhere between cornbread and creamy corn, which sounds weird but works.
Assemble it the night before Thanksgiving and just pop it in the oven while the turkey rests. It reheats well, so make it early in the day if you need oven space.
Use one can of cream-style corn and one regular for the best texture.
11. Roasted Root Vegetable Medley
When your vegetable game needs an upgrade from plain carrots, this mix delivers. Parsnips, turnips, carrots, and red onions all roasted together total about $10 and serve 10-12 people.
Real time: 45 minutes in the oven. Hands-on: 15 for chopping.
Chop everything into similar-sized chunks, toss with olive oil and herbs, then roast for 45 minutes.
The variety of vegetables makes the dish look impressive without extra work, and the natural sugars caramelize so even the turnips taste sweet. Toss with fresh parsley right before serving for color.
12. Green Bean Casserole from Scratch
Skip the canned soup and make this classic in about the same time, for around $12, serving 10 people. Fresh green beans, mushrooms, cream, and those crispy onions on top taste way better than the shortcut version.
Real time: 40 minutes, including prep. Hands-on: 30.
Blanch the green beans while you sauté the mushrooms for the sauce, then everything bakes together for 20 minutes.
Use a mix of button and cremini mushrooms for deeper flavor. The sauce thickens as it bakes, so don’t worry if it looks thin when you assemble it.
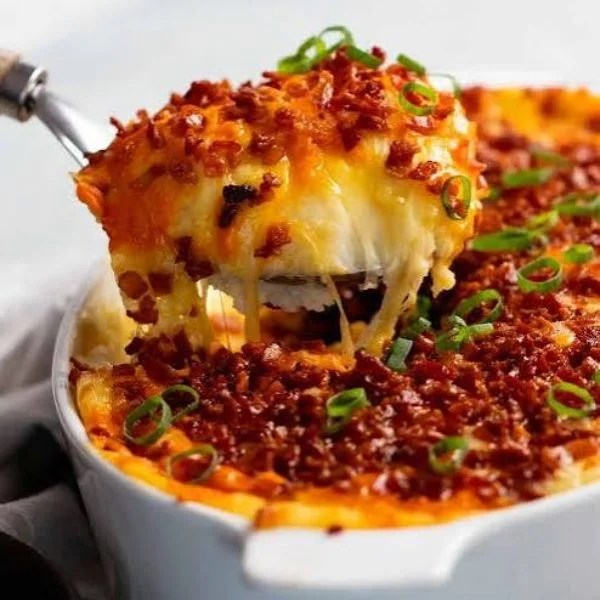
13. Twice-Baked Potato Casserole
All the flavor of twice-baked potatoes without stuffing individual skins. Five pounds of potatoes, cheese, bacon, and sour cream come in around $14 and feed 12 people easily.
Real time: assembled two days ahead, baked 30 minutes before dinner. Hands-on: 45.
Bake the potatoes, scoop out the insides, mix with all the good stuff, then spread it back into a casserole dish.
Assemble the whole thing two days ahead and just bake it for 30 minutes before dinner. Top with extra cheese and bacon during the last 10 minutes.
Way easier than dealing with potato skins that split or fall apart.
14. Honey-Balsamic Roasted Beets
For the person at your table who needs something different, roasted beets deliver. Two bunches of beets run about $6 and serve 8 people as a side.
Real time: an hour in the oven. Hands-on: 10.
Wrap them in foil with honey and balsamic vinegar, roast for an hour, then slice. The foil packet means zero cleanup, and the beets steam in their own moisture.
Buy pre-cooked beets in the produce section if you want to skip the roasting entirely. The sweet-tart glaze makes them taste gourmet.
Serve them at room temperature so they don’t take up precious space in your oven or on the stove right before dinner.
15. Cheesy Broccoli-Rice Casserole
This carb-and-vegetable combo counts as both on your Thanksgiving table. Two bags of frozen broccoli, rice, cheese soup, and shredded cheddar cost under $10 and feed 10 people.
Real time: 45 minutes baking, made a week ahead if you’re organized. Hands-on: 15.
Everything mixes in one bowl, goes into a 9×13 pan, and bakes covered for 45 minutes. Use instant rice to cut the cooking time in half.
Top with crushed Ritz crackers during the last 10 minutes if you want a crunchy topping. The whole thing freezes beautifully.
16. Roasted Garlic Mashed Cauliflower
When you need a lighter option that still feels indulgent, this works. Two large heads of cauliflower, roasted garlic, butter, and cream cost around $8 and serve 8-10 people.
Real time: 30 minutes roasting plus blending. Hands-on: 15.
Roast everything together for 30 minutes, then blend until smooth. The roasted garlic adds so much flavor that even cauliflower skeptics go back for seconds.
It tastes rich but doesn’t sit heavy in your stomach. Add a little chicken broth if it’s too thick after blending, and garnish with chives to make it look fancier than the effort required.
17. Skillet Cornbread with Jalapeños
A cast-iron skillet of cornbread serves 10-12 people for about $5 and bakes in 25 minutes. One box of cornbread mix, canned corn, shredded cheese, and diced jalapeños make it more interesting than plain cornbread.
Real time: 25 minutes in the oven. Hands-on: 10.
The cast iron gives it those crispy, buttery edges everyone fights over. Prep everything and pour it into the skillet earlier in the day, then bake it while the turkey rests.
Use half the jalapeños if your crowd can’t handle heat. Brush the top with melted butter right out of the oven for extra richness.
18. Creamed Spinach for a Crowd
This steakhouse side dish costs about $10 to feed 12 people at Thanksgiving. Three boxes of frozen spinach, cream cheese, Parmesan, and garlic simmer together in 20 minutes.
Real time: 20 minutes. Hands-on: 20.
Make it on the stovetop while other dishes are in the oven, or keep it warm in a small slow cooker.
The cream cheese makes it extra smooth without a separate sauce. Squeeze all the water out of the thawed spinach with a kitchen towel, because nobody wants a watery side dish.
Add a pinch of nutmeg for depth, without making it taste like nutmeg. Serve it in a nice bowl and people assume it was complicated.
19. Apple-Cranberry Wild Rice Pilaf
Your fancy grain side that costs less than traditional stuffing feeds 10 people for about $9. Wild rice blend, dried cranberries, chopped apples, and toasted pecans cook together in chicken broth for 45 minutes.
Real time: 45 minutes, made the day before. Hands-on: 20.
The combo of chewy rice and sweet-tart fruit makes it feel special without you doing anything complicated. Make it the day before and reheat with a splash of broth to freshen it up.
Toast the pecans in a dry skillet for 3 minutes while the rice cooks to bring out their oils. The cranberries plump up as they cook and add pops of flavor throughout.
20. Loaded Cauliflower Bake
Everything people love about loaded baked potatoes shows up in this lighter version for around $11, serving 12. Two large heads of cauliflower get roasted, then mixed with bacon, cheddar, sour cream, and green onions.
Real time: 25 minutes baking, assembled a day ahead. Hands-on: 30.
Bake it in a 9×13 pan for 25 minutes until the cheese melts and gets bubbly on top. The cauliflower base means people can take bigger portions without the carb guilt.
Assemble the whole thing a day ahead and refrigerate it unbaked. Reserve some bacon and cheese to sprinkle on top before baking for presentation.
21. Honey-Thyme Dinner Rolls from Scratch
Sounds intimidating, but these come together easier than you think and serve 16 people for under $6. Basic roll dough gets brushed with honey-butter and fresh thyme before the second rise.
Real time: a day and a half of slow rising, with 18 minutes of baking. Hands-on: about 30 minutes, spread across the day.
Shape them the night before through the first rise, refrigerate, then bring to room temperature and finish rising on Thanksgiving. They bake for 18 minutes.
Fresh herbs make them smell incredible and look bakery-quality. Use a stand mixer with a dough hook if you have one, to save your arms from all that kneading.
22. Maple-Pecan Sweet Potato Mash
Forget the marshmallow version and try this grown-up take that costs about $12 for 12 servings. Five pounds of sweet potatoes get mashed with real maple syrup and butter, and topped with candied pecans.
Real time: about 40 minutes total. Hands-on: 20.
The pecans candy in a skillet with butter and brown sugar in 5 minutes while the potatoes cook. No one misses the marshmallows once they taste the crunchy-sweet pecan topping.
Boil the sweet potatoes instead of baking them to cut the cooking time in half. You can mash them a day ahead and reheat in the oven, adding the pecan topping right before serving.
Use pure maple syrup instead of pancake syrup, for actual maple flavor.
23. Balsamic-Glazed Pearl Onions
These tiny onions pack serious flavor and only cost about $7 for 8-10 servings. Two bags of frozen pearl onions get simmered in balsamic vinegar, butter, and brown sugar until glazed and caramelized.
Real time: 20 minutes on the stovetop. Hands-on: 20, zero prep.
The onions are already peeled, so there’s nothing to do but simmer. As the sauce reduces, the glaze coats every onion in that sweet-tangy sauce.
They look elegant on the plate and taste like something from a restaurant. Make them an hour before dinner and reheat gently, or serve them at room temperature.
24. Herb-Butter Roasted Radishes
Even radish-skeptics get converted when they’re roasted until sweet and tender. Three bunches of radishes come in around $5 and serve 8 people after roasting transforms them.
Real time: 30 minutes in the oven. Hands-on: 10.
Toss halved radishes with butter, garlic, and fresh herbs, then roast for 30 minutes. They lose their sharp bite and taste almost like roasted potatoes, but lighter.
Buy radishes with the greens still attached for freshness, then chop and save those greens for soup. The outside turns golden and caramelized while the inside gets creamy. Most people can’t even identify them as radishes and just think they’re a fancy root vegetable.
25. Creamy Mushroom Barley
For the guest who wants something hearty but not meat-based, this delivers for about $8, serving 10. Pearl barley, mixed mushrooms, cream, and fresh thyme simmer together until the barley is tender and creamy.
Real time: about 45 minutes, mostly hands-off once everything is in the pot. Hands-on: 15.
The barley releases starch as it cooks, making the dish naturally creamy without tons of dairy.
Toast the barley in butter for 2 minutes before adding liquid for nuttier flavor. Use whatever mushrooms are on sale, since they all cook down the same way. Finish with a squeeze of lemon juice to brighten all those earthy flavors.
26. Brown Sugar-Bacon Brussels Sprout Skewers
Kids ask for these because everything on a stick feels like party food. Two pounds of sprouts and half a pound of bacon make 12 skewers for around $11 total.
Real time: 20 minutes roasting, blanch the day before. Hands-on: 20.
Thread blanched sprouts and bacon pieces onto skewers, brush with brown sugar glaze, and roast for 20 minutes. The presentation makes them feel special even though the prep is simple.
Blanch the sprouts the day before so Thanksgiving Day you’re just assembling and roasting. The bacon renders and crisps while the brown sugar caramelizes.
Soak wooden skewers in water for 30 minutes before using, so they don’t burn in the oven.
Your $400 Cart Just Got Smaller
Panic when your grocery cart hits $400 before you’ve even picked up the turkey? These sides bring that number down without anyone noticing what’s missing from the table.
Start with the Make-Ahead Mashed Potato Casserole if you need one less thing to juggle on Thursday morning. Try the Sheet Pan Green Beans with Almonds when you’re tired of washing dishes. Make the Roasted Brussels Sprouts with Bacon when you need something that disappears fast.
Pick three sides tonight, write your shopping list, and watch your cart total drop. You’re feeding everyone well this year, without the second trip to the store or the budget guilt that comes with it.
Make it yours: none of these dishes care about your exact produce, so swap in whatever’s cheapest at your store that week. The method holds, the price holds, and the table stays full.
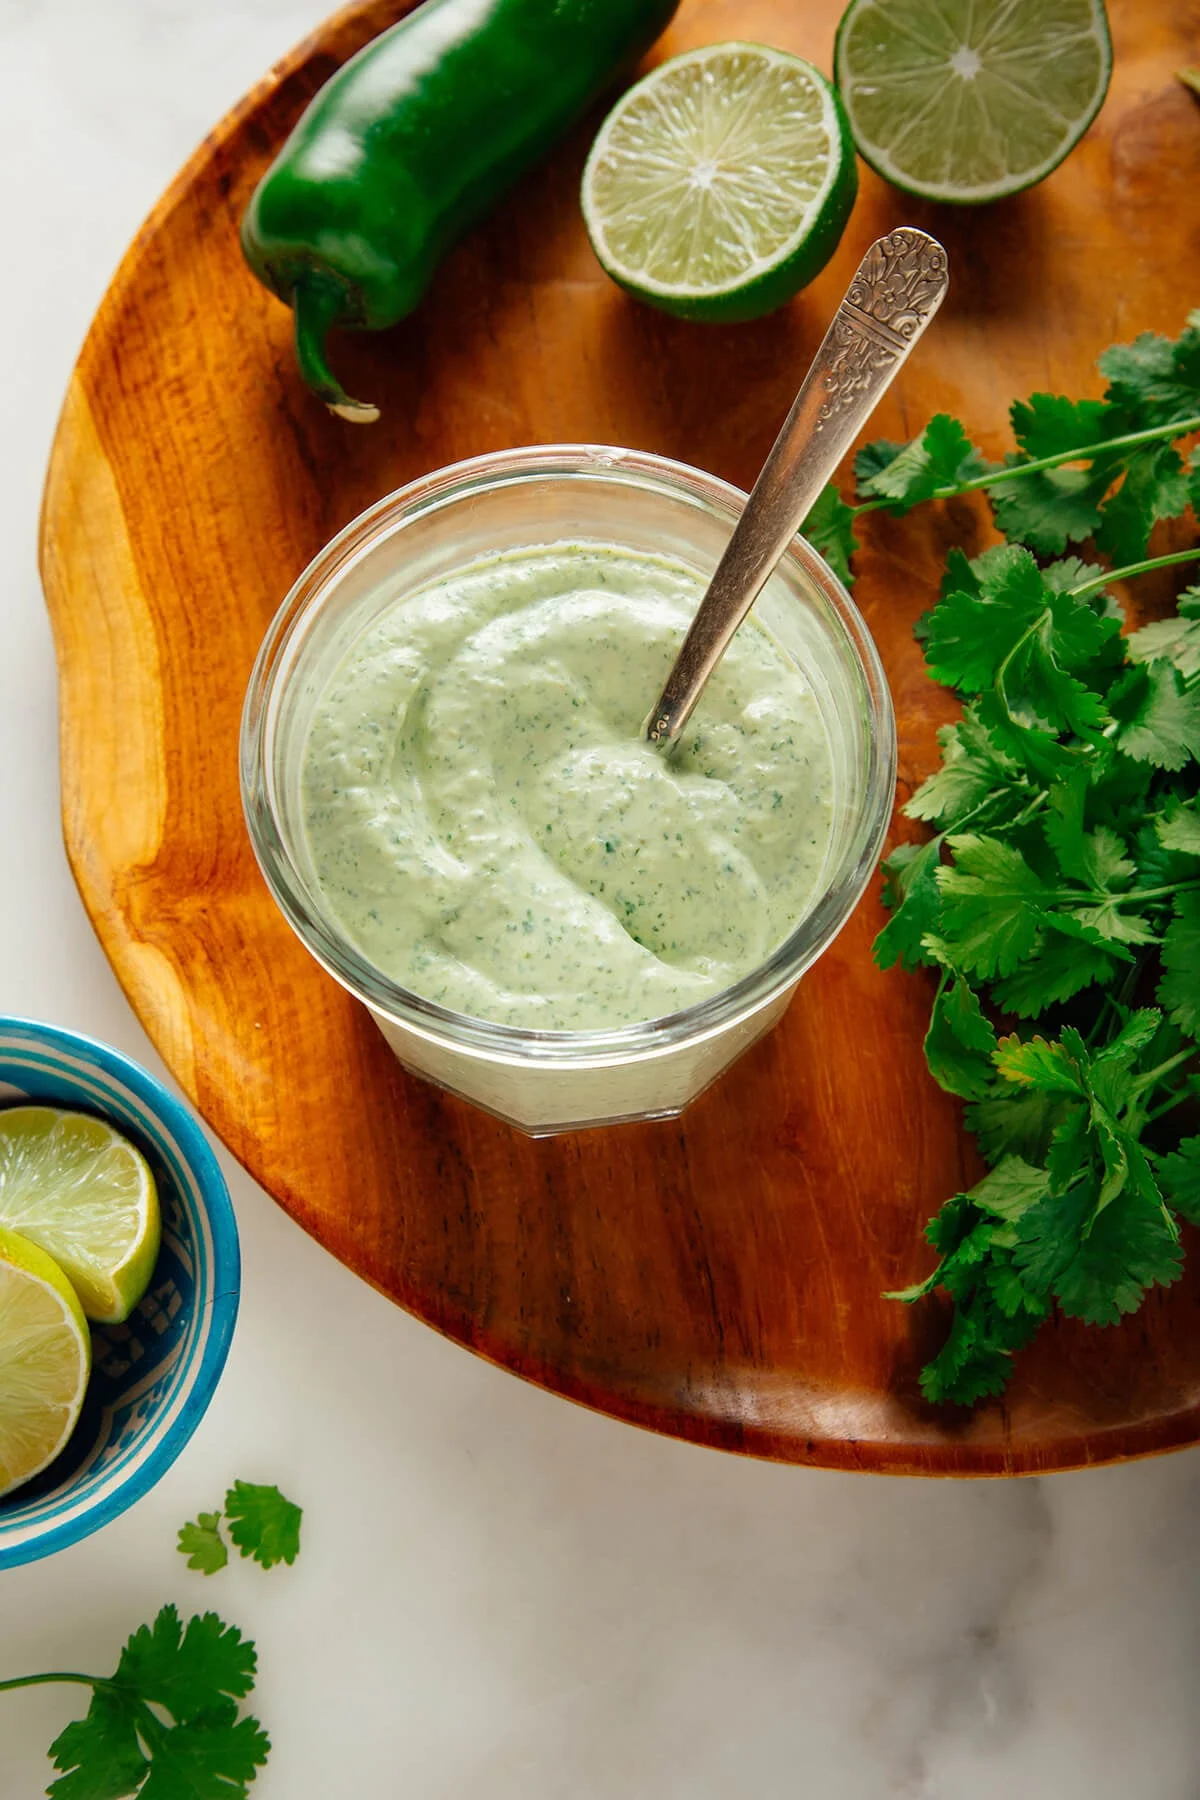
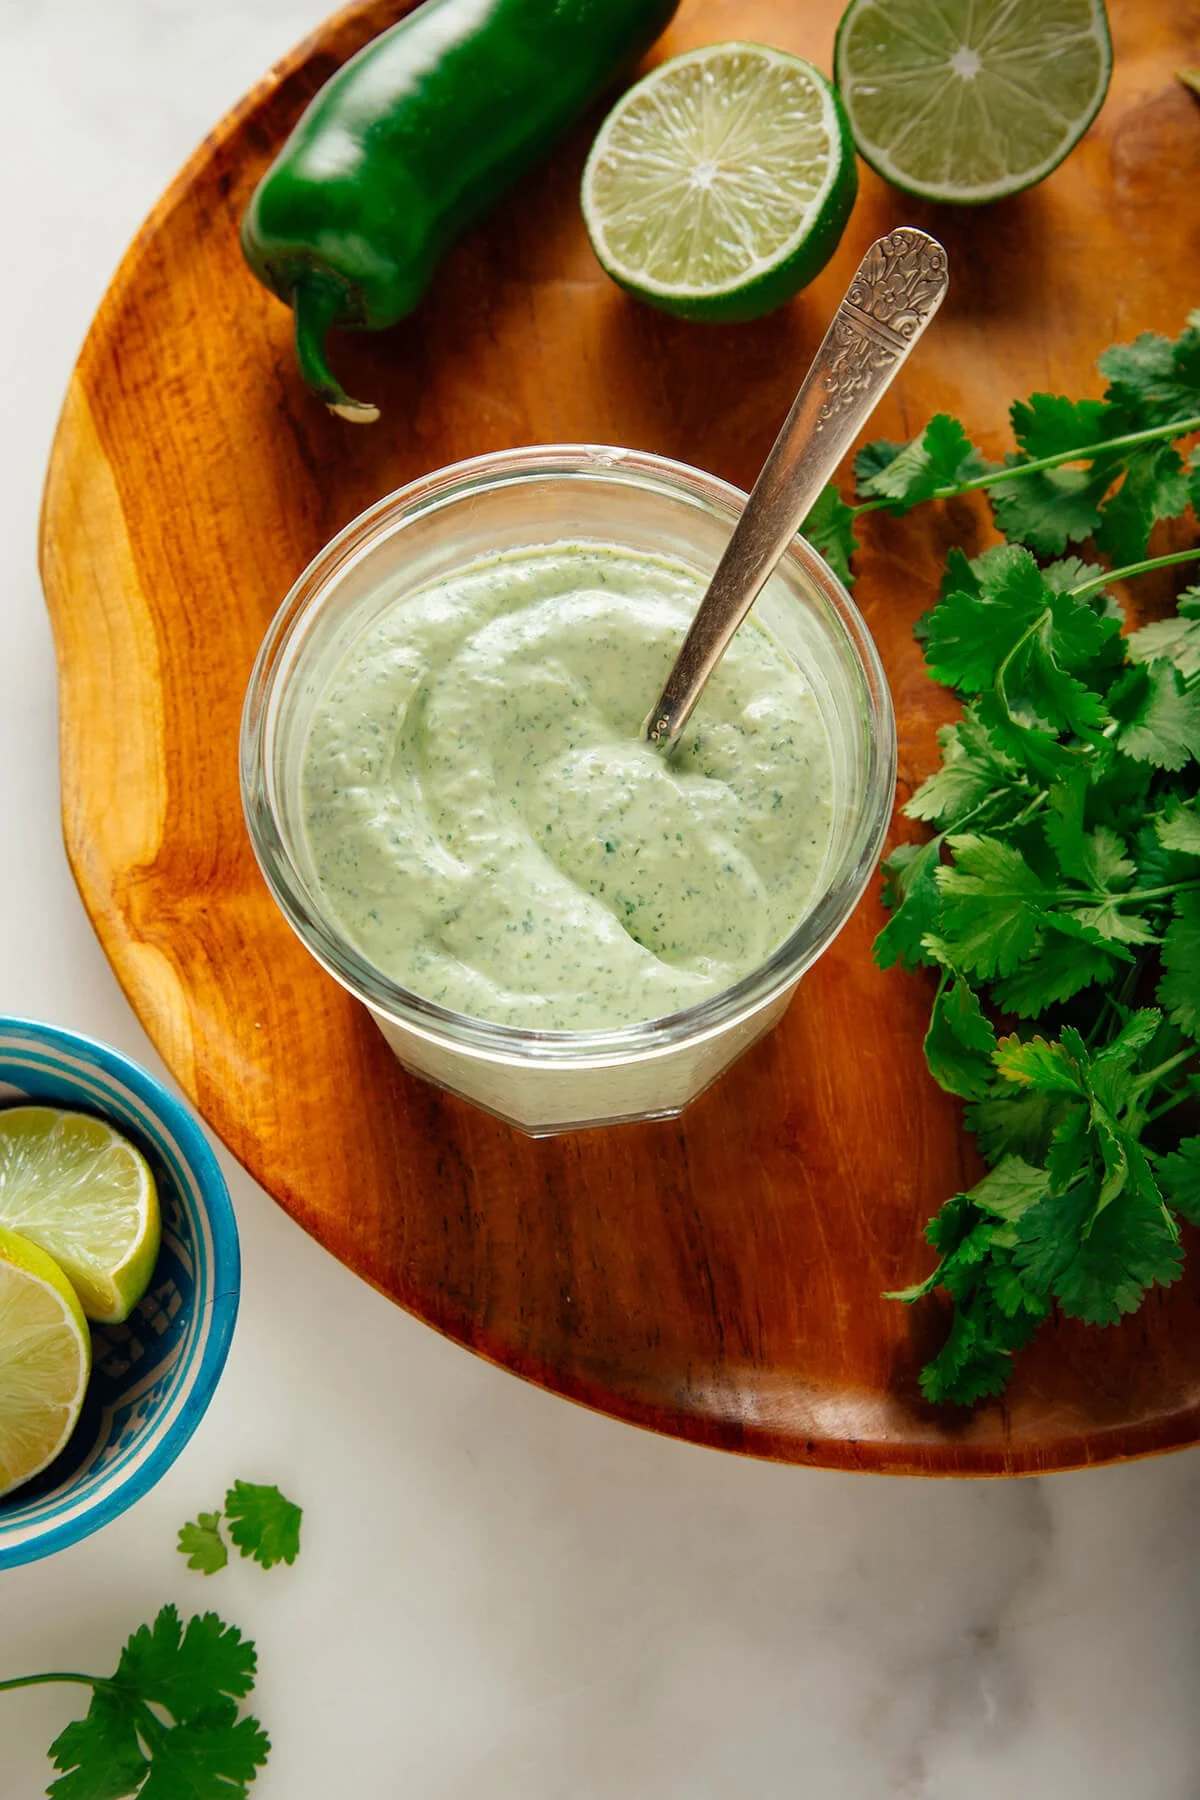
My burrito bowl order has a secret: no plain sour cream. I ask for the cilantro lime sauce instead, and honestly, it’s the only fast food I’ve been ordering every other week without much guilt. Creamy, bright, a little spicy — it takes the whole bowl somewhere. So I decided to make it myself, and I’m not the only one who should be allowed to.
I pulled the recipe together from Chipotle’s ingredient list — cilantro, lime, a little cumin, sour cream, and a roasted jalapeño. The trick was just getting the proportions right. I made my version and theirs side by side and tasted both, and I’ll be honest: it’s hard to tell the difference. I like mine better. Which is the kind of win I like to have on a Wednesday.
Real time: 10 minutes. Hands-on: 10 minutes. One jalapeño, a handful of cilantro, sour cream, lime, garlic. It makes about a cup and keeps for up to 5 days in an airtight container in the fridge. It’s the kind of thing you make once on a Sunday and quietly enjoy all week.
The Jalapeño: Char It (or Don’t)
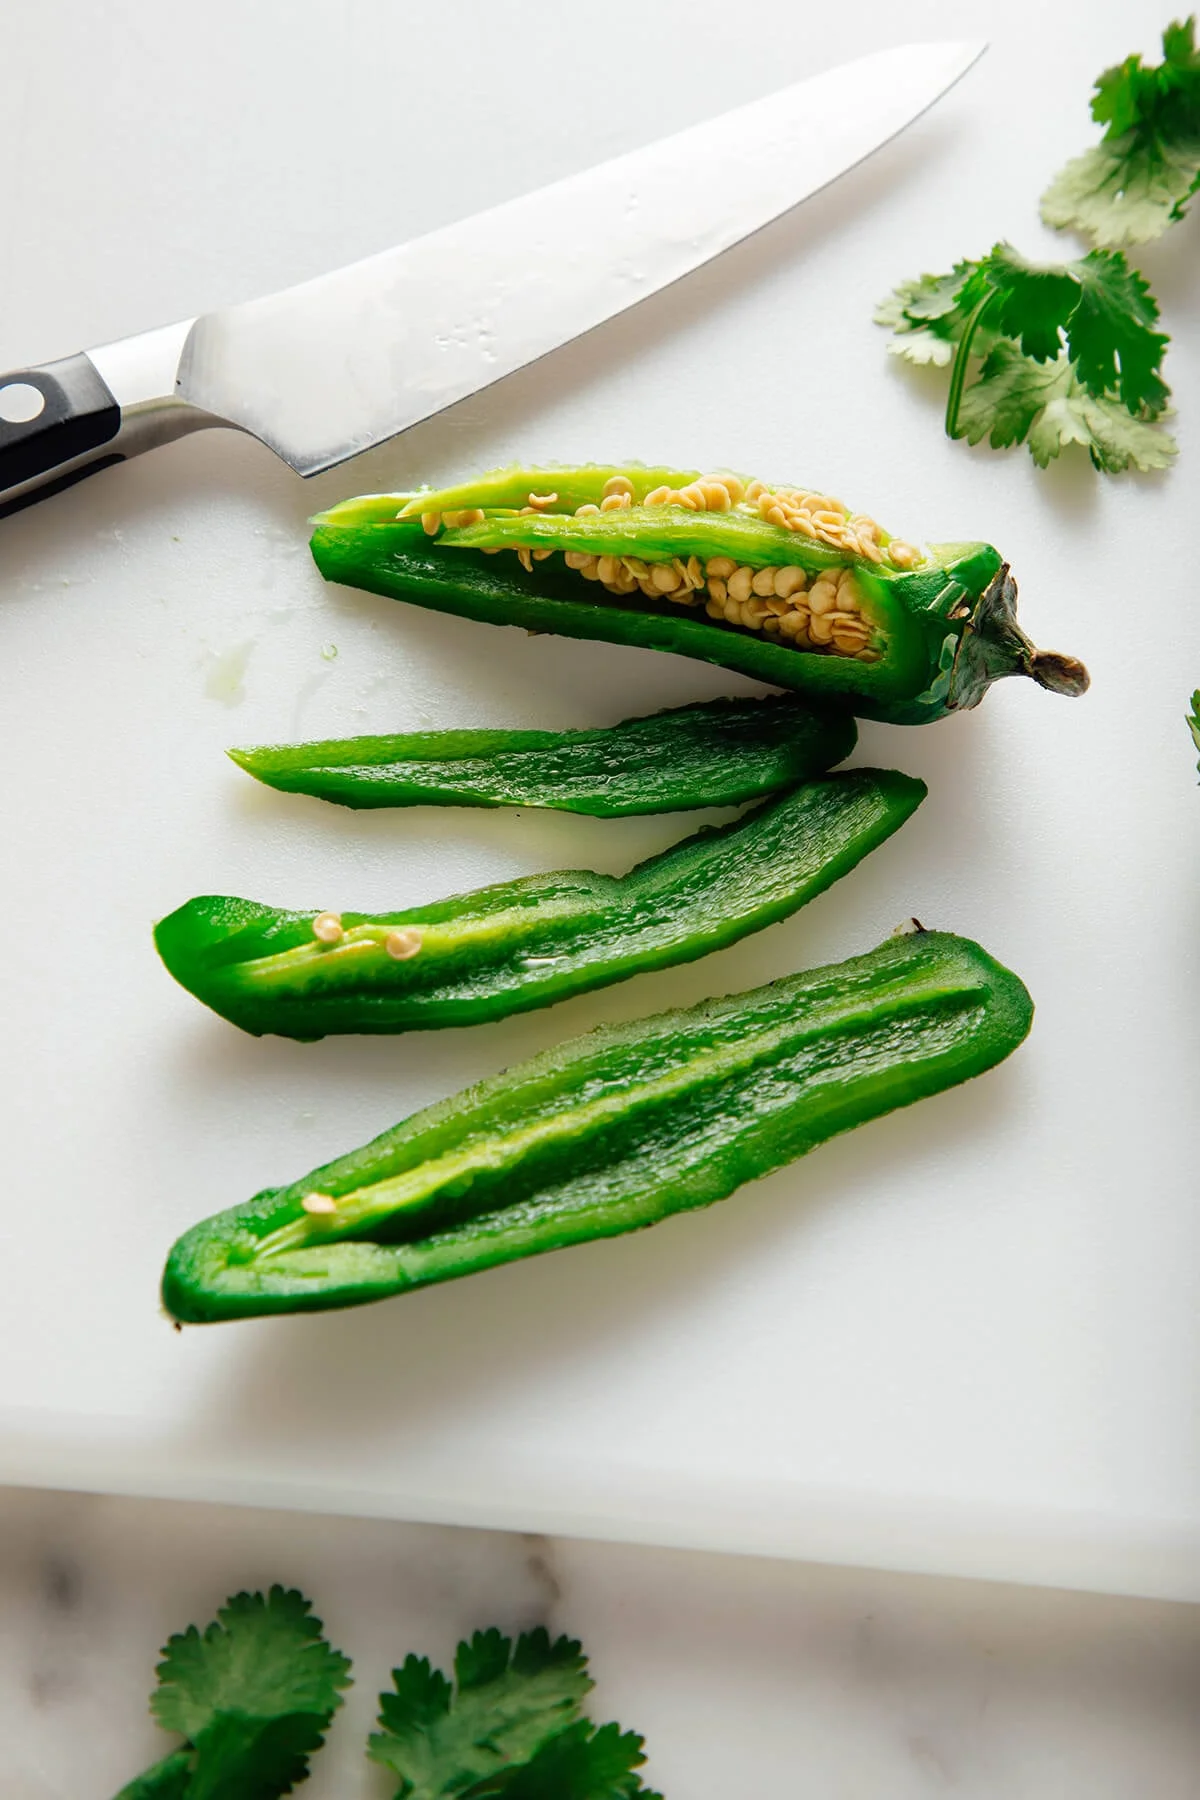
Chipotle’s sauce uses a charred jalapeño, and for good reason: charring mellows the heat, adds a little smoky depth, and softens the skin so the sauce blends up smoother. But you can skip it entirely and use a fresh jalapeño. It’s easier, and the flavor is bolder and greener. Just start with half the pepper and blend in more only if you want it.
Char over a gas flame
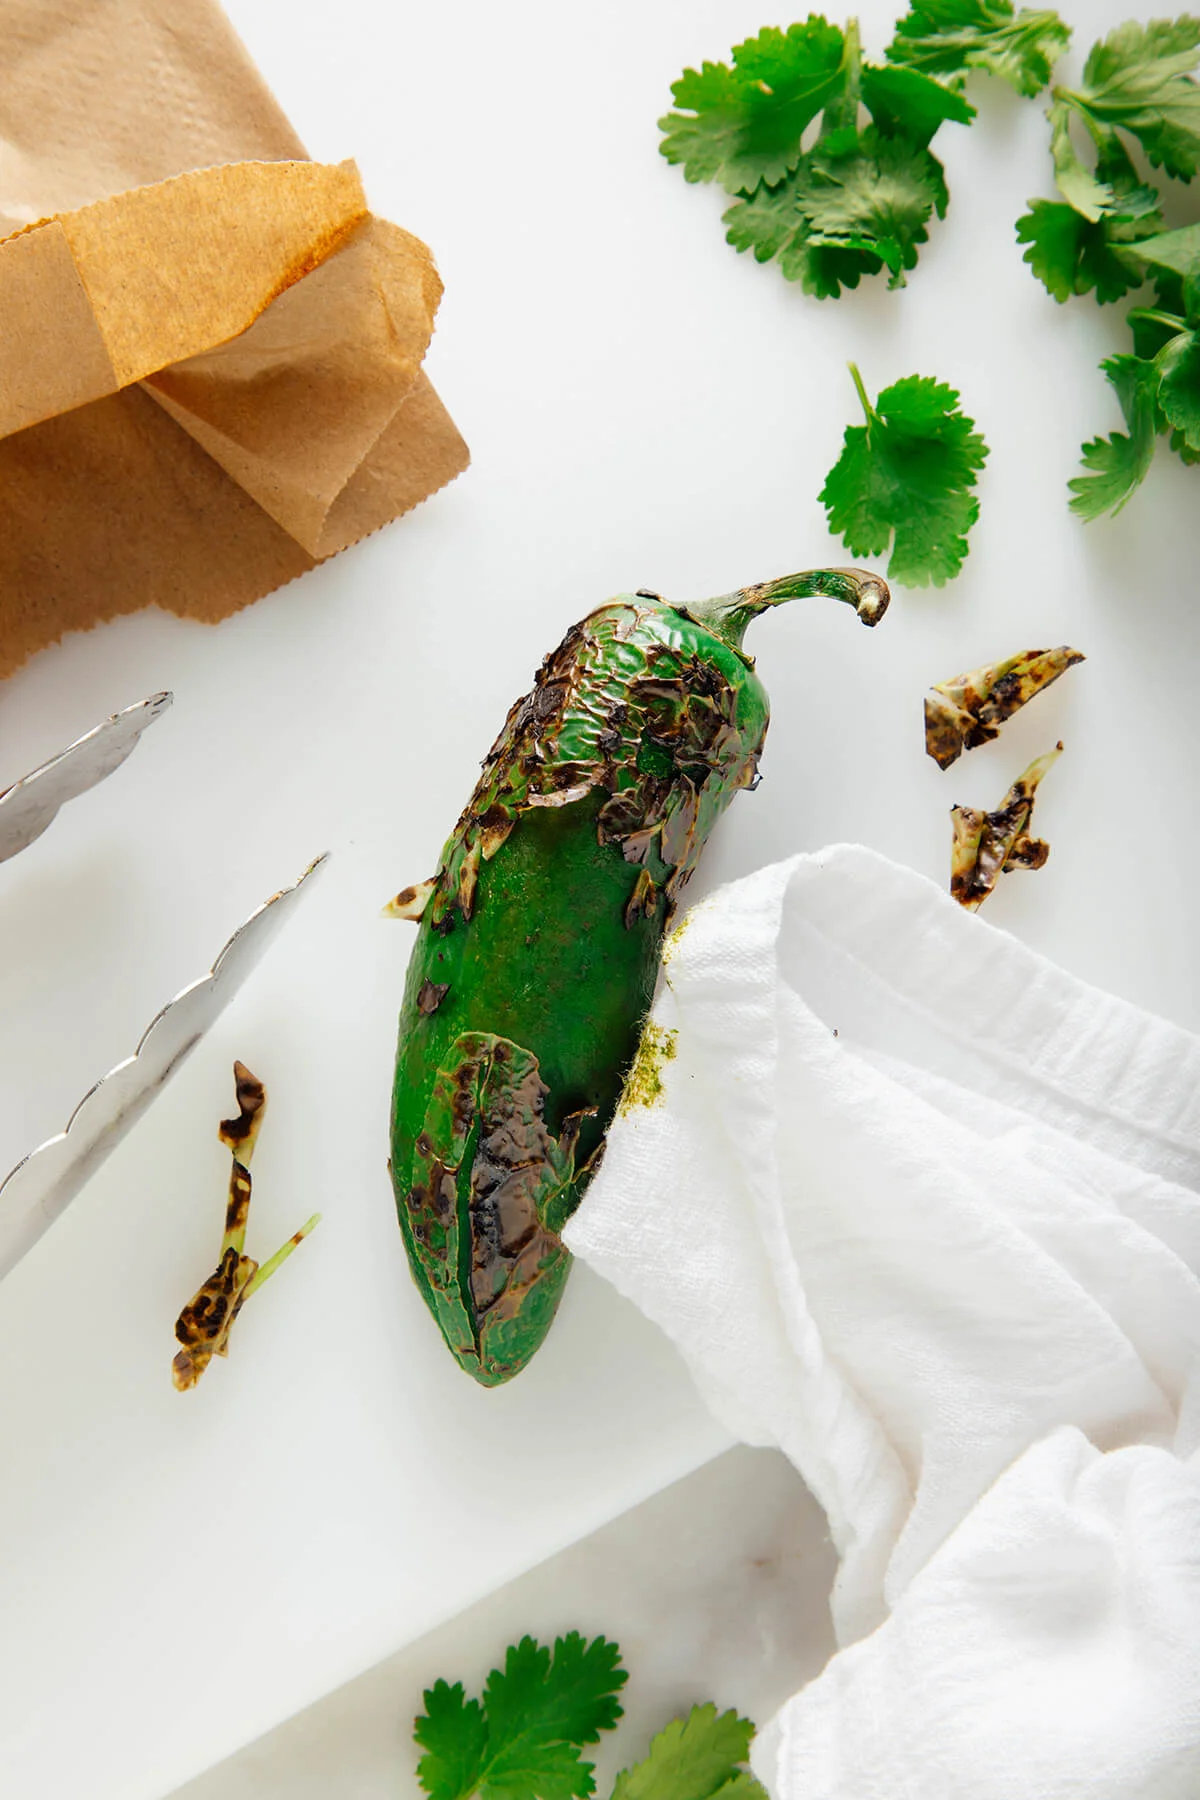
Hold the jalapeño with heat-safe tongs, a couple of inches over a medium flame, for about 60 to 90 seconds until it’s mostly blackened. Flip and do the other side.
Char in a skillet
Use cast iron or stainless steel, not non-stick. Heat the pepper over medium-high until the bottom is blistered — a few minutes — then flip and blister the other side.
Either way, de-skin it
Wrap the pepper in a paper bag, or cover it in a bowl with plastic wrap, for about 10 minutes to let it steam. Wipe off the charred skin with a clean tea towel, cut off the green flesh, and slice it into smaller pieces.
One note on heat: jalapeño is a core flavor in this sauce. You can omit it, but then it stops tasting like the Chipotle version. If you’re feeding someone who’s sensitive to spice, start with a small amount and blend in more to taste.
Cilantro Lime Sauce
Prep time: 10 minutes · Total time: 10 minutes · Yield: about 1 cup · Vegetarian, easily doubled
Ingredients
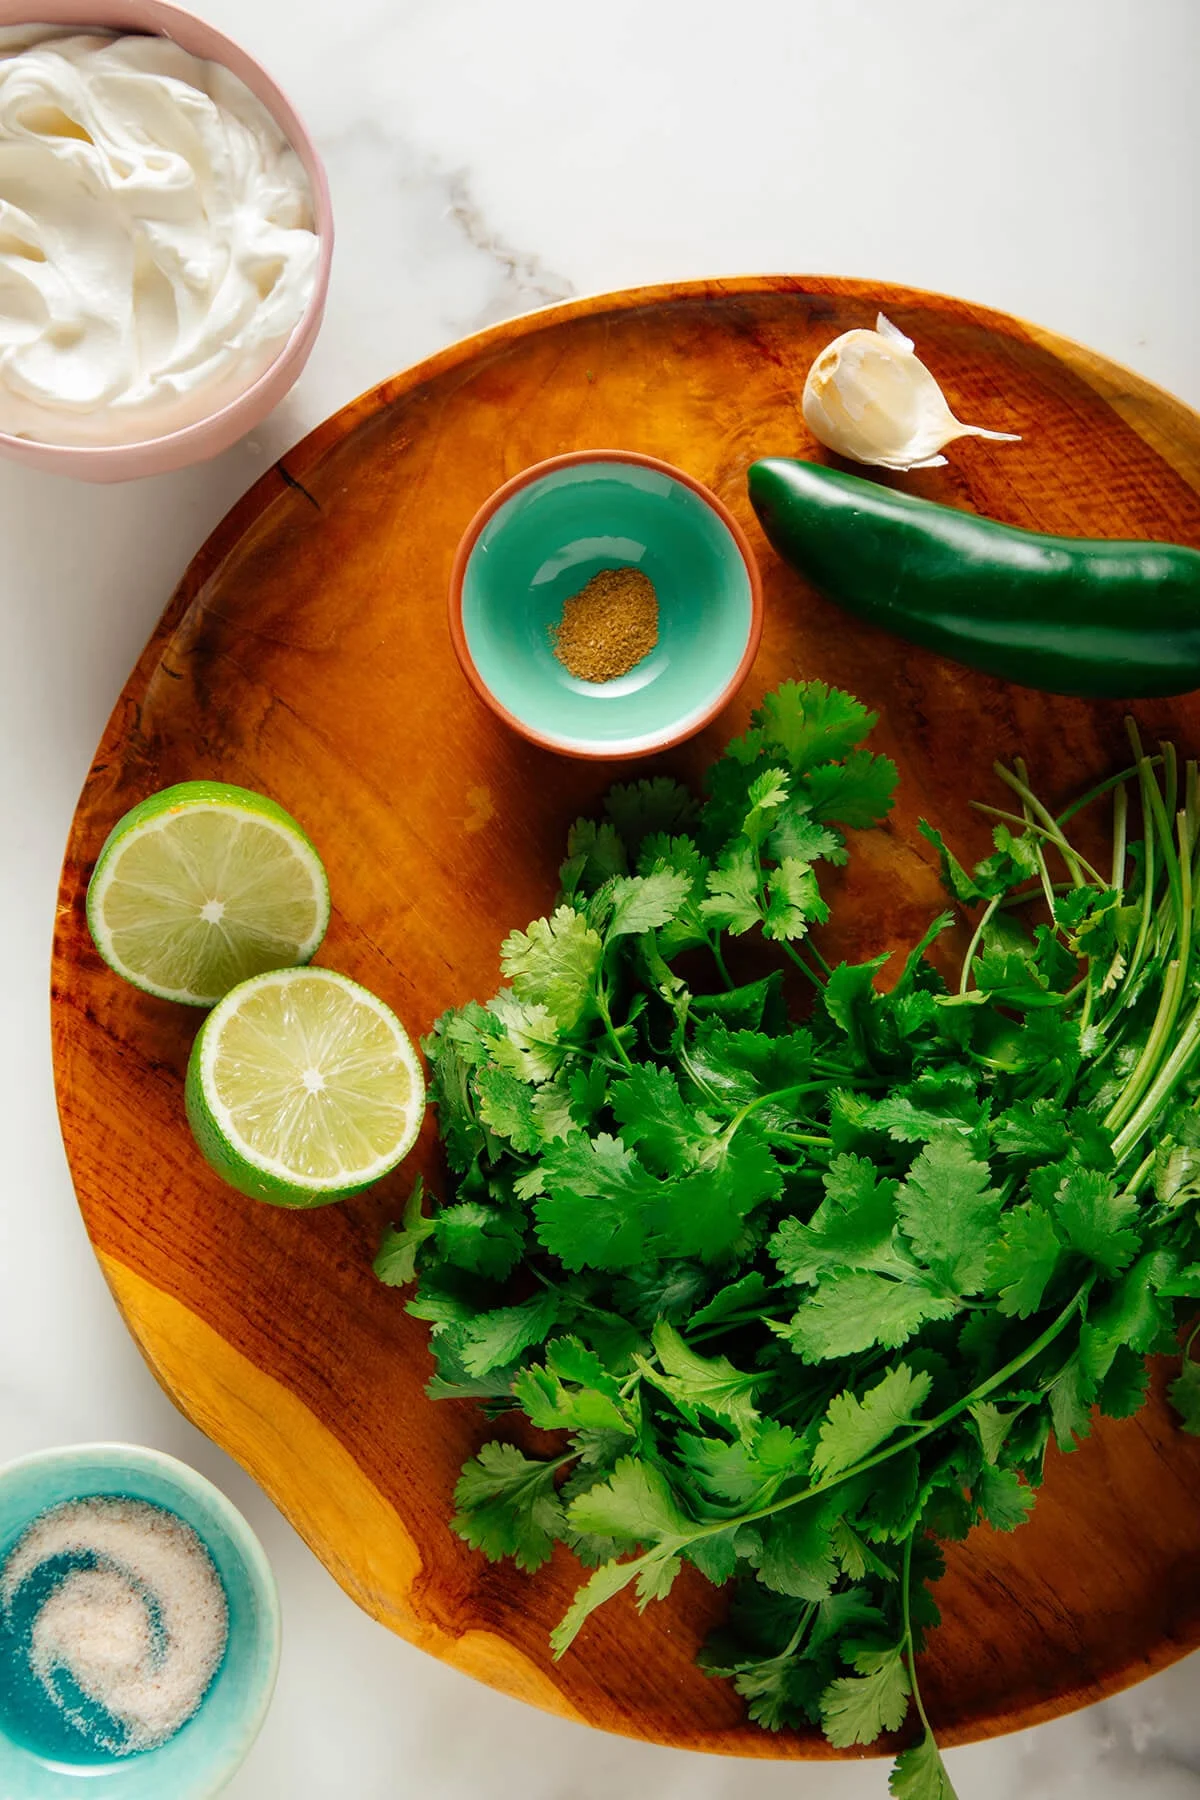
1 medium jalapeño
1 cup lightly packed fresh cilantro (from 1 small bunch; slender stems are fine)
1 cup sour cream
1 tablespoon fresh lime juice
1 medium clove garlic, cut into several segments
½ teaspoon fine salt
⅛ teaspoon ground cumin
Method
Char the jalapeño (optional). If you’re doing it, follow the steps above, then cut off the green flesh and slice it into smaller pieces.
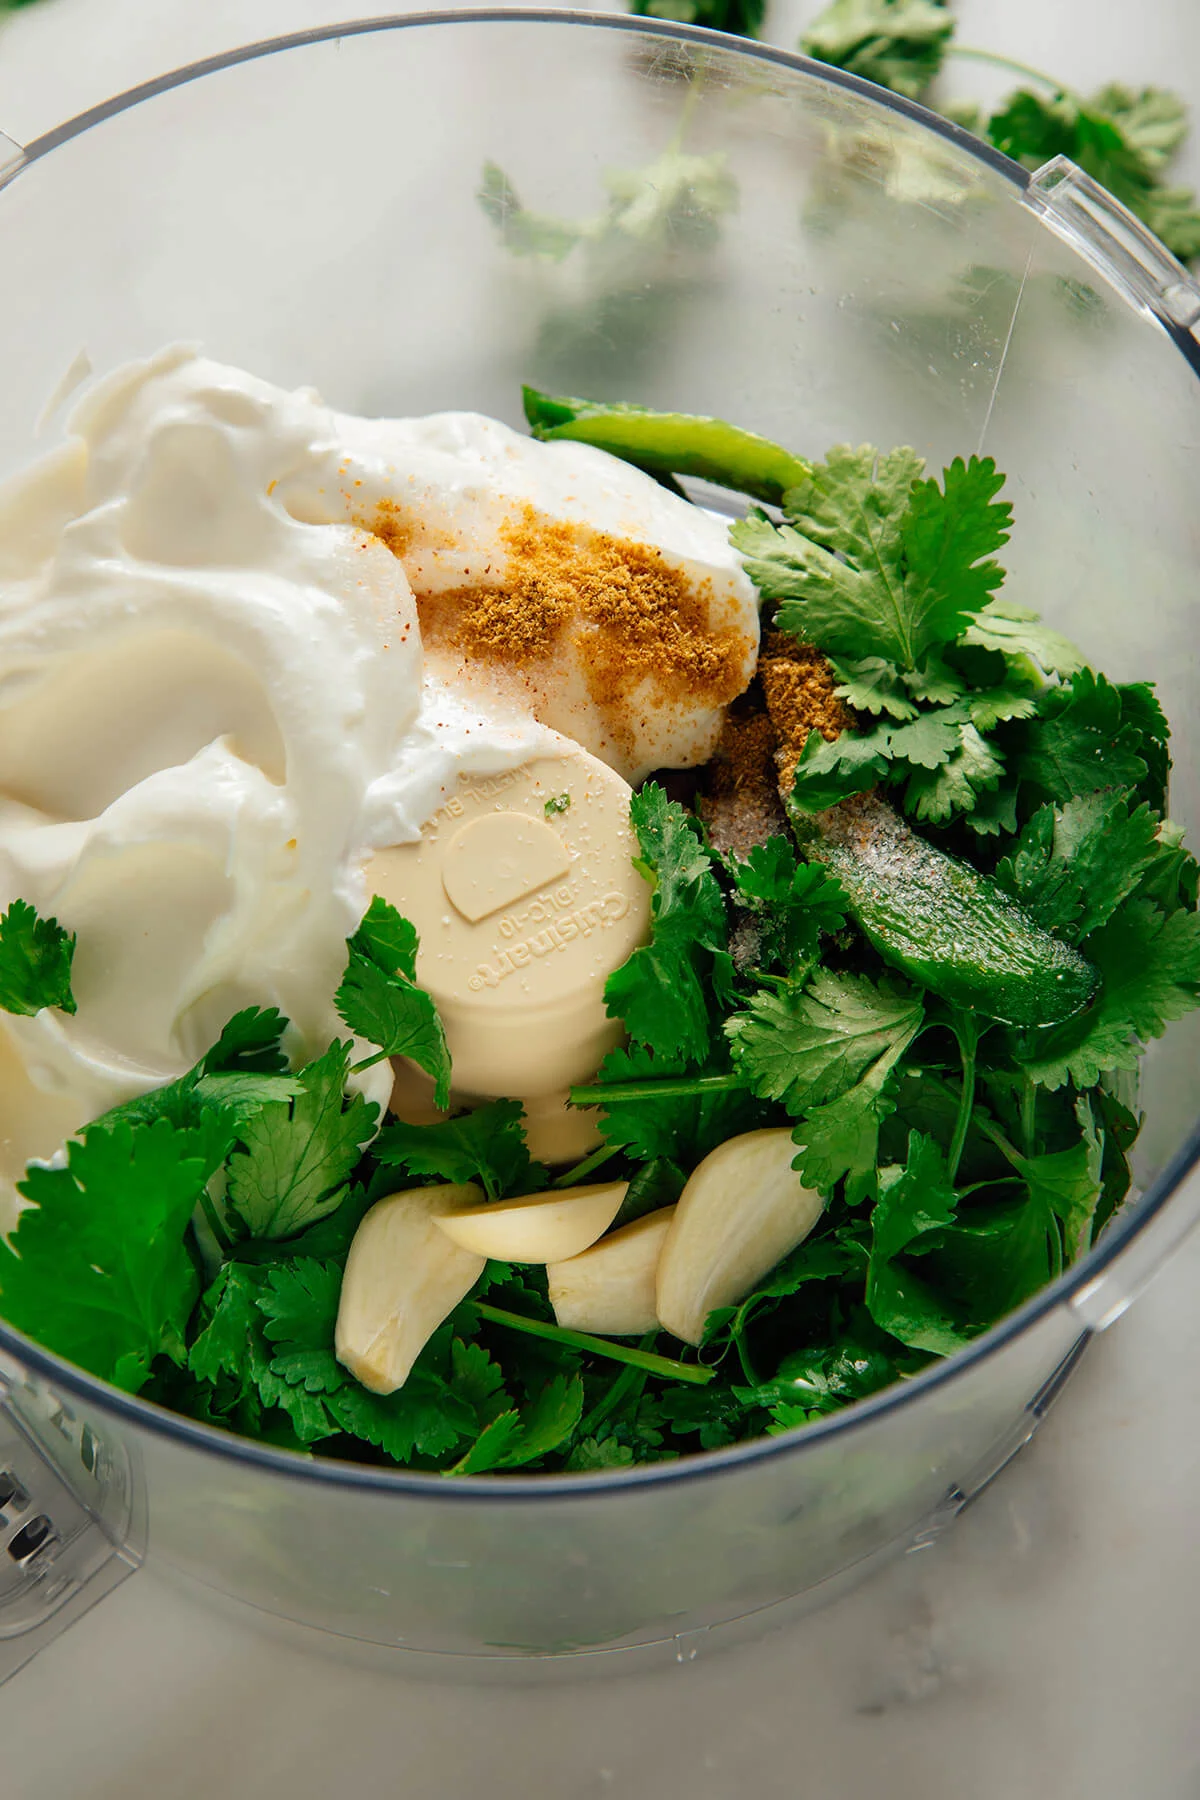
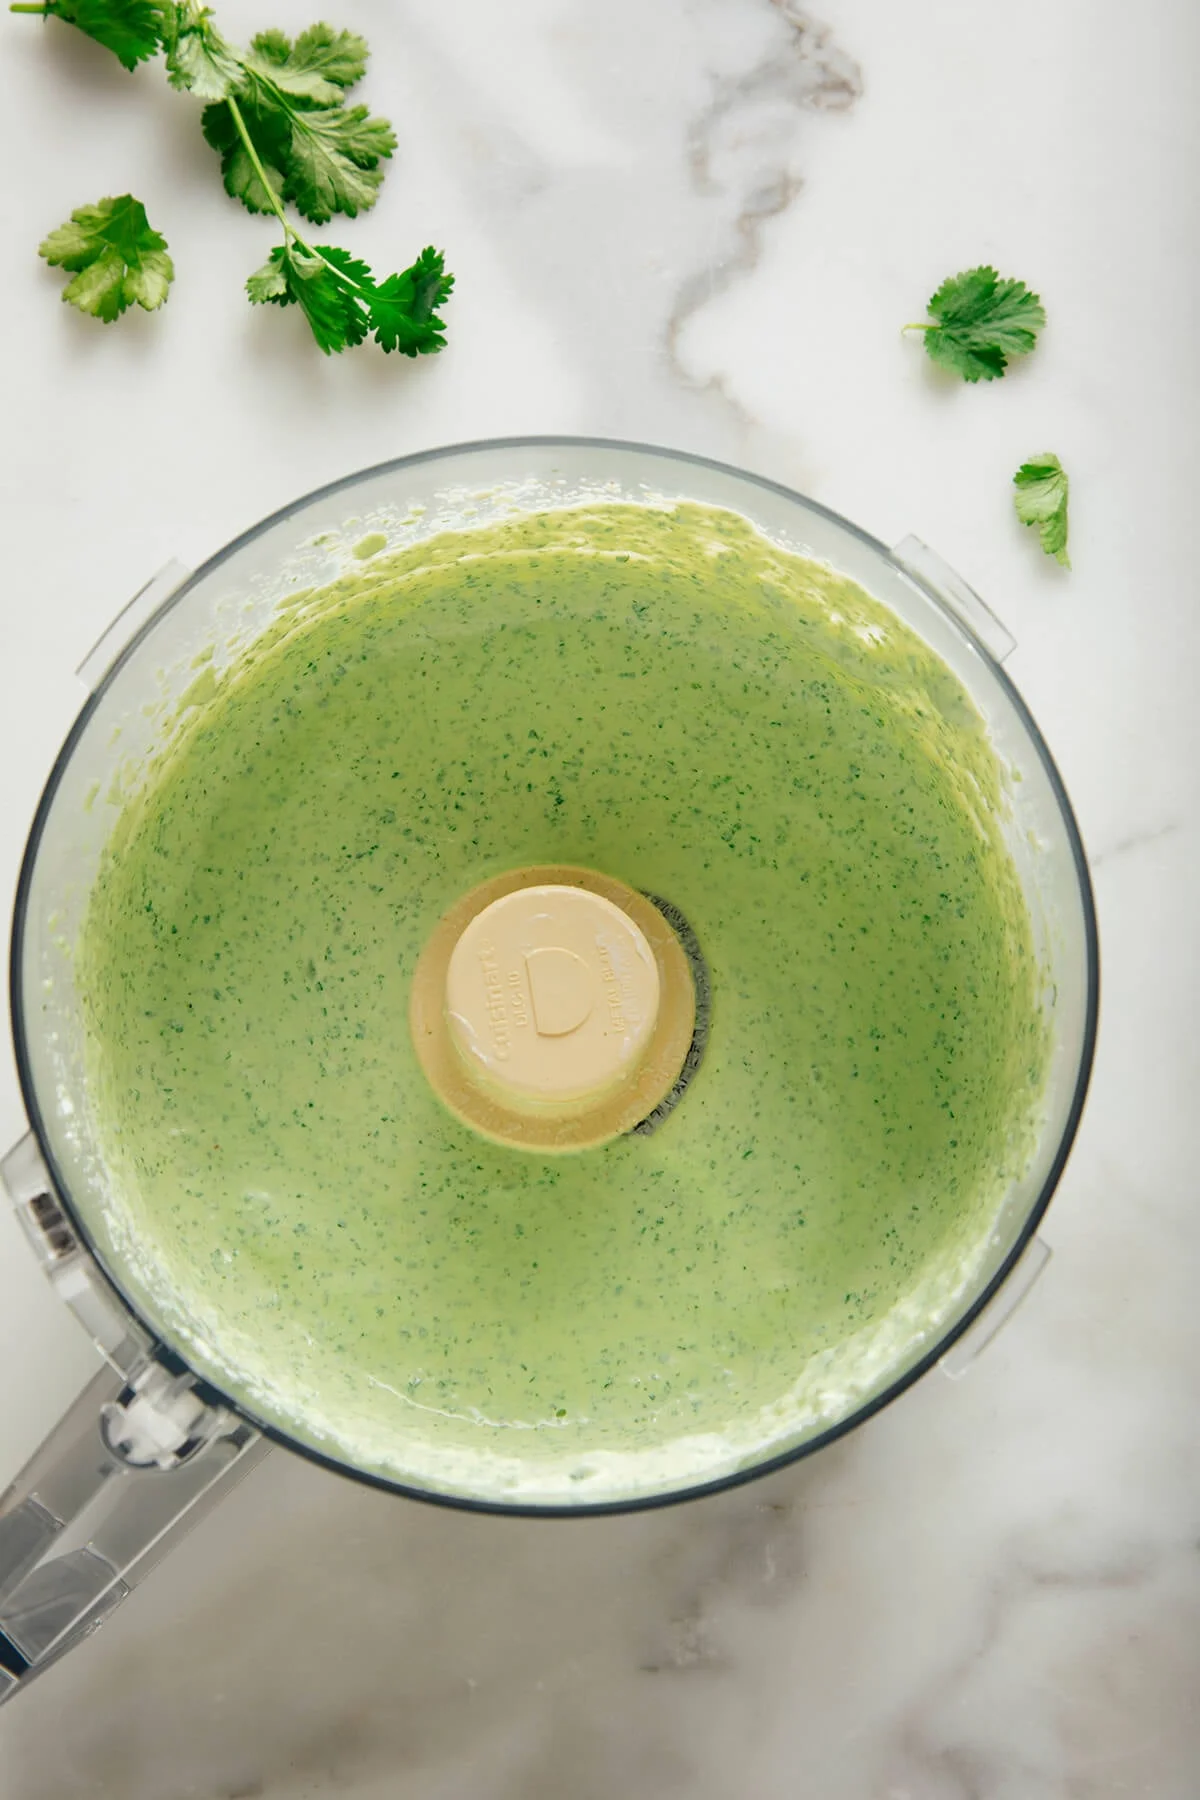
Blend. Toss the jalapeño, cilantro, sour cream, lime juice, garlic, salt, and cumin into a food processor. Process until smooth and light green, with tiny flecks of cilantro running through it.
Rest it. Taste, then adjust the salt or lime. You can use it right away, but a couple of hours in the fridge makes it noticeably better. It keeps for up to 5 days in an airtight container.
How I Actually Use It
This goes on everything with a tortilla: nachos, quesadillas, tacos, burritos, bowls. I keep a jar in the fridge and a bag of chips in the drawer, and that’s a dinner. My husband treats it like chimichurri and drizzles it over whatever’s on the grill — usually steak. I’ve drizzled it over tacos with sofritas, avocado, and extra cilantro, and that’s about my favorite thing.
A dollop of mayo turns it into a green salad dressing, which I won’t pretend I haven’t done to a bowl of greens more than once.
Make It Yours
Fresher, hotter version: skip the charring entirely and use half a fresh jalapeño. It’s the version I make when I don’t want to watch a flame.
Dairy-free: swap in a plant-based sour cream and blend the whole thing in a blender instead of the food processor.
Double it: this recipe doubles without issue, and honestly a second jar disappears by Thursday.
Tell me how yours turns out in the comments — I hope you agree it’s as good as the one from the window.
The first time I made mapo tofu at home, it was flat. The second time, it was too hot. By the fourth attempt I was standing over the stove with a spoon, wondering why a dish I ordered at takeout a hundred times refused to turn out right in my own kitchen.
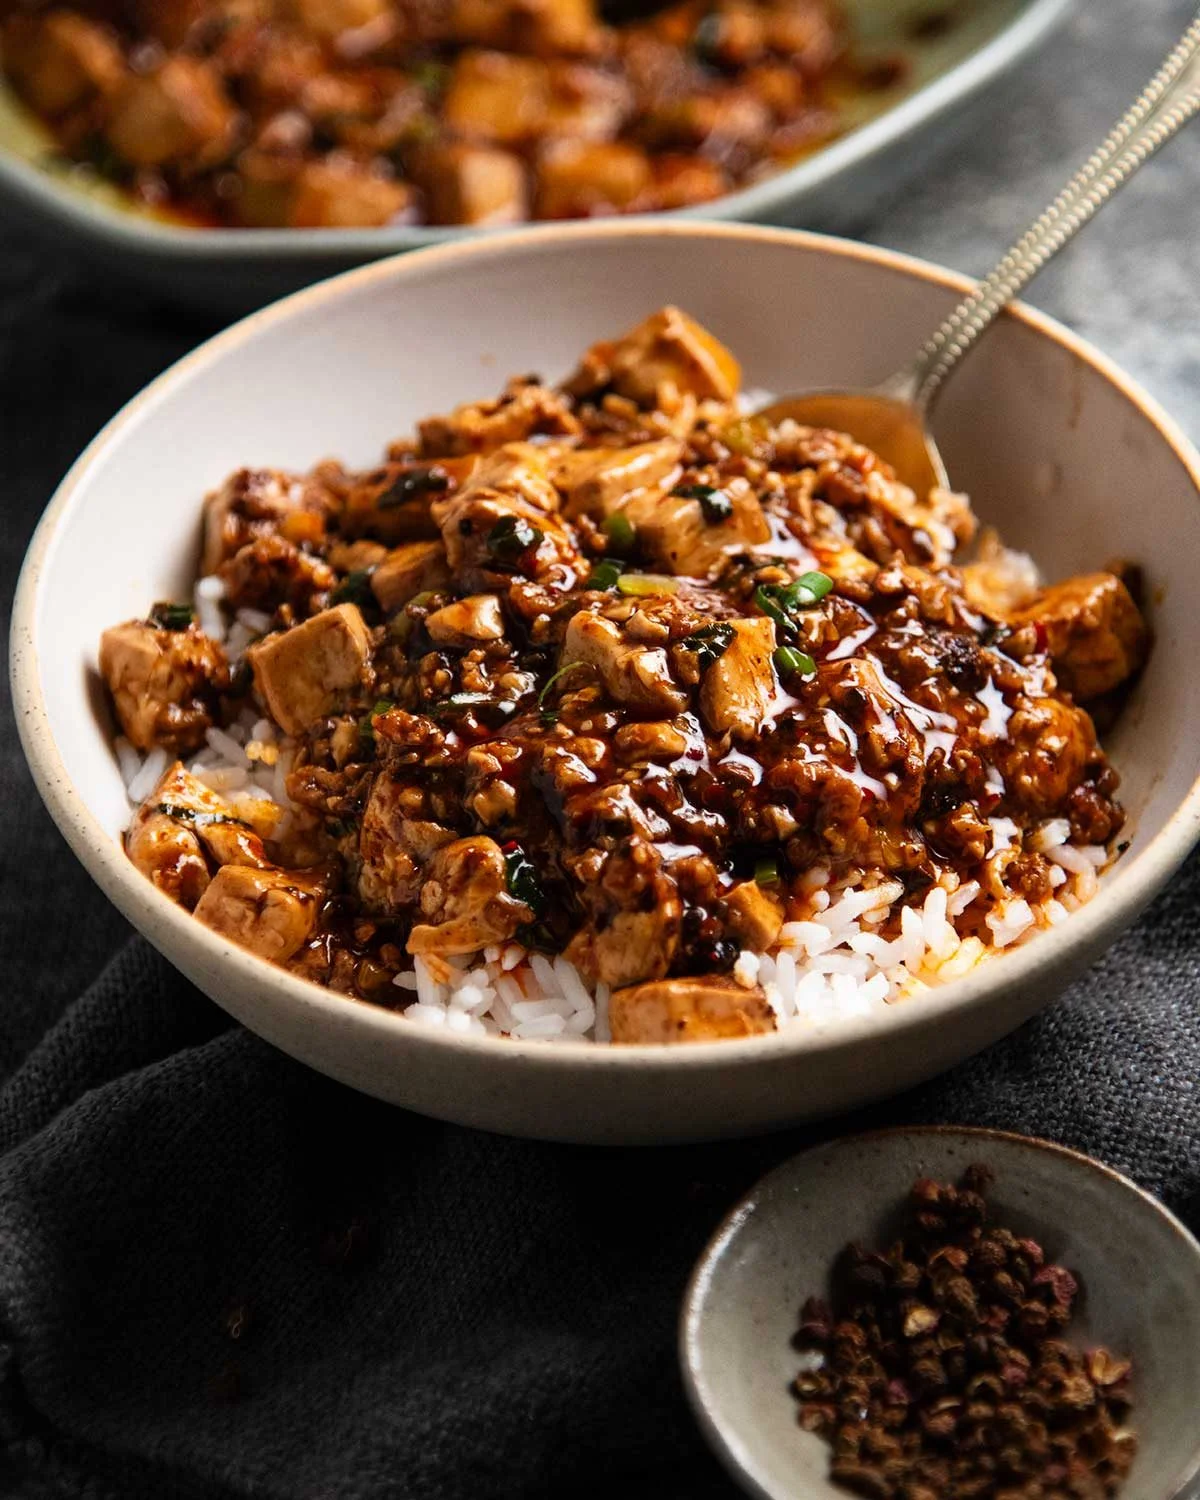
Then I got the pieces I’d been missing, and it all fell into place. Now it’s one of those rare home dinners I can make at 6 pm on a Tuesday and have it on the table by 6:45, and it still tastes like the best version of the thing I grew up craving.
Here’s the honest version: real mapo tofu is silken tofu braised in a sauce built from chilli bean paste, salted black beans, and freshly ground Sichuan pepper. It’s spicy, it’s numbing, and it’s deeply savoury. You’ll need three ingredients from an Asian grocery store, and the rest is pantry stuff you probably already own. Total cost comes to somewhere around $10 for the specialty items, so it’s far cheaper than ordering out.
Real time and effort
Real time: about 45 minutes. Hands-on: about 20. Most of the cooking time is a gentle simmer, so you can be chopping the green onion, setting the table, or dealing with whatever a Tuesday throws at you while the pot does its quiet work.
What you need
The three that take a trip to the Asian store
Sichuan peppercorns. This is the one that makes mapo tofu, mapo tofu. That cool, numbing, almost lemony tingle is what separates it from any other spicy dish you’ve had. I use the pink or red ones when I can find them, because that’s the traditional choice and the flavour is a little warmer and rounder. The green ones work too if that’s what’s on the shelf. The other non-negotiable: grind your own. I’ve tried the pre-ground stuff, and it just isn’t there. The flavour is so much fresher and brighter when you toast and grind it yourself, and it takes five minutes. A small packet will last you a long time.
Preserved black beans (also called salted or fermented black beans). They’re actually fermented soybeans, not the legume, and they have the texture of a firm little raisin. They add a deep, savoury saltiness to the sauce that nothing else in the pantry can quite replicate. You’ll find them in the pickled and vacuum-packed vegetable section, and a small pack will go a long way. I can’t think of a substitute that comes close.
Chinese broad bean paste (doubanjiang). A red, fermented paste made from broad beans, soybeans, and salt, often with chilli. It’s savoury, salty, and packed with umami, and it’s the base of the whole sauce. The spicy Sichuan version from Pixian is the one I use. A big jar is a few dollars, and you only need a tablespoon or two per batch, so it’ll sit in your pantry for months.
Everything else
Silken tofu (600g / 21 oz), cut into 1.5cm / 0.6-inch squares. This is the soft, jiggly, jelly-like kind you find in tubs in the refrigerator section. Don’t substitute firm tofu. It’s a tofu dish, not a meat dish, so the right texture is the whole point.
Meat. I use 100g / 3.5 oz of pork mince, ideally with about 20% fat, though lean works fine. Beef is actually the traditional meat and works well too, but I prefer pork because it’s softer and melds more gently with the silken tofu. It sounds like a small amount next to a full block of tofu, but it reads as so much more in the finished dish.
Aromatics and pantry: 2 tablespoons of garlic, finely minced (about 4 large cloves); 2 1/2 tablespoons of ginger, minced with a knife rather than a grater, because grated garlic and ginger get too wet and pasty to sauté properly; 2 teaspoons of pure chilli powder; 1 teaspoon of smoked paprika (or regular sweet paprika if you don’t have the smoked); 1 teaspoon of white sugar; 1 green onion stem, finely sliced; 3/4 cup of low-sodium beef stock; 1 teaspoon of toasted sesame oil (the brown, not the pale yellow, un-toasted kind); 2 teaspoons of cornstarch and 1/4 cup of water for the slurry.
Soys and salt: 1/2 teaspoon of dark soy sauce, 2 teaspoons of light soy sauce in total (1 for the pork, 1 for the sauce), and 1 teaspoon of cooking salt for blanching the tofu. Dark soy is intense, so use light or regular soy if that’s all you have.
Oil: about 1/3 cup of a neutral cooking oil in total. I use canola, but vegetable or peanut oil works. It sounds like a lot, and it is, but that glossy layer of red chilli oil floating on top is a hallmark of good mapo tofu, and you need this much to get it. The finished dish doesn’t feel heavy at all.
How to make it
1. Make fresh Sichuan pepper powder. Toast 1 tablespoon of whole peppercorns in a small dry skillet over medium heat for 2 to 3 minutes, until they smell fragrant and a few of them crack open. Be careful not to let them turn bitter. Let them cool for a few minutes, then grind them as finely as you can in a spice grinder or mortar, and sift out the larger bits of husk. You’ll need about 1 teaspoon of powder for the dish. Set half aside for the finishing sprinkle.
2. Blanch the tofu. This is the step I used to skip, and it’s the one I’ll never skip again. Bring 2 1/2 cups of water to a boil with 1 teaspoon of salt and 1/2 teaspoon of dark soy. Carefully add the tofu, and once it’s simmering, cook for 3 minutes. It removes the raw beany flavour and seasons the inside of the tofu, and it actually makes the silken tofu a little sturdier, which helps later. Lift it out with a slotted spoon into a bowl. Don’t drain it in a colander, you’ll break up too much of it.
3. Make the mapo tofu. If you don’t have a wok, use a medium pot rather than a wide skillet, because you want enough depth for the tofu to braise in the liquid without the sauce evaporating too fast.
Heat 1 tablespoon of oil in the wok over high heat. Add the pork mince and cook, breaking it up as you go, until there’s no more pink, then lower the heat to medium and cook for another 2 minutes until you get some golden bits. Stir in 1 teaspoon of light soy sauce for 5 seconds, then scoop the pork out into a bowl and set aside.
Turn the heat to low and add the rest of the oil. Cook the garlic and ginger for about a minute and a half. Add the chopped preserved black beans and the broad bean paste and cook for 3 minutes, stirring constantly, until it smells incredible. Add the chilli powder and paprika and cook for 30 seconds more. Keep the heat low so the garlic doesn’t burn, and the generous amount of oil helps with that.
Add the beef stock and the remaining teaspoon of light soy. Once it’s bubbling, gently slide in the blanched tofu. Turn the heat up to medium-high until it’s at a steady simmer, then cook for 10 minutes, letting the liquid reduce a little and the tofu soak up the sauce. Gently scrape across the base of the pan with a rubber spatula every now and then so nothing sticks, and don’t stir aggressively, you’ll break the tofu.
Stir in the sugar, the pork, and half of the Sichuan pepper powder. Mix the cornstarch with the 1/4 cup of water and pour the slurry over the surface of the dish rather than dumping it in one spot, then simmer for 2 minutes until the sauce thickens and turns shiny.
Stir in the green onion and the sesame oil. Pour the whole thing into a serving dish, spooning as little as possible. Sprinkle with the remaining half teaspoon of Sichuan pepper powder, and a little more green onion if you like it. Serve it over rice, and a lot of it.
FAQ
How spicy is it? Spicy, yes, but not Vindaloo-level spicy. The heat comes from the chilli powder, which you can dial back and add more at the end to taste. The Sichuan pepper adds the numbing tingle, not the burn, so I’d keep that at the full amount, it’s a signature flavour and it’s worth it.
Can I make it vegetarian? Yes. Swap the pork for 200g / 7 oz of finely chopped regular mushrooms and use vegetable stock instead of beef stock, then follow the recipe as written. The sauce has enough flavour to carry it.
I can’t find some of the ingredients. Fair warning: the three specialty items are the backbone of the flavour, and there aren’t real substitutes for them. The good news is they’re cheap, they keep well in the pantry (or the freezer), and you only use a little of each batch, so that trip to the Asian store pays for itself over time.
How does it keep? Three to four days in the fridge. It’s best fresh, but leftovers are fine, and a small fresh sprinkle of ground Sichuan pepper on top of the leftovers brings it right back to life. It doesn’t freeze well.
Is it authentic? It’s as close as you can get outside of Sichuan without cooking with caiziyou oil (the roasted rapeseed oil that’s the everyday cooking oil there, and very hard to find elsewhere). The red colour here comes mostly from paprika with chilli powder providing the heat, because chilli powder sold here tends to come in one heat level, and using enough of it for the colour would make this dish un-eatable. If you do have caiziyou oil, go ahead and use it.
Make it yours
If you want it milder, cut the chilli powder in half and add more at the end to taste. Beef instead of pork if that’s what you’ve got, and lean pork works fine if 20% fat isn’t on the shelf. Add a splash of the blanching water to the sauce if it starts to reduce too much, and don’t be afraid of a little extra green onion on top. And whatever you do, serve it with rice, this is a saucy dish, and the sauce soaking into the rice is half the point.
The first time I tasted this sauce, it wasn’t in my kitchen. It was a paper cone of fries at the French Market food stall in Kansas City, with a bright green dip that went on it. I’ve been chasing that taste ever since — and this is it.
Real time: 5 minutes. Hands-on: 5 minutes. Yield: just over 1 cup. No food processor? It works with a knife and a whisk, and I’ll tell you how at the end.
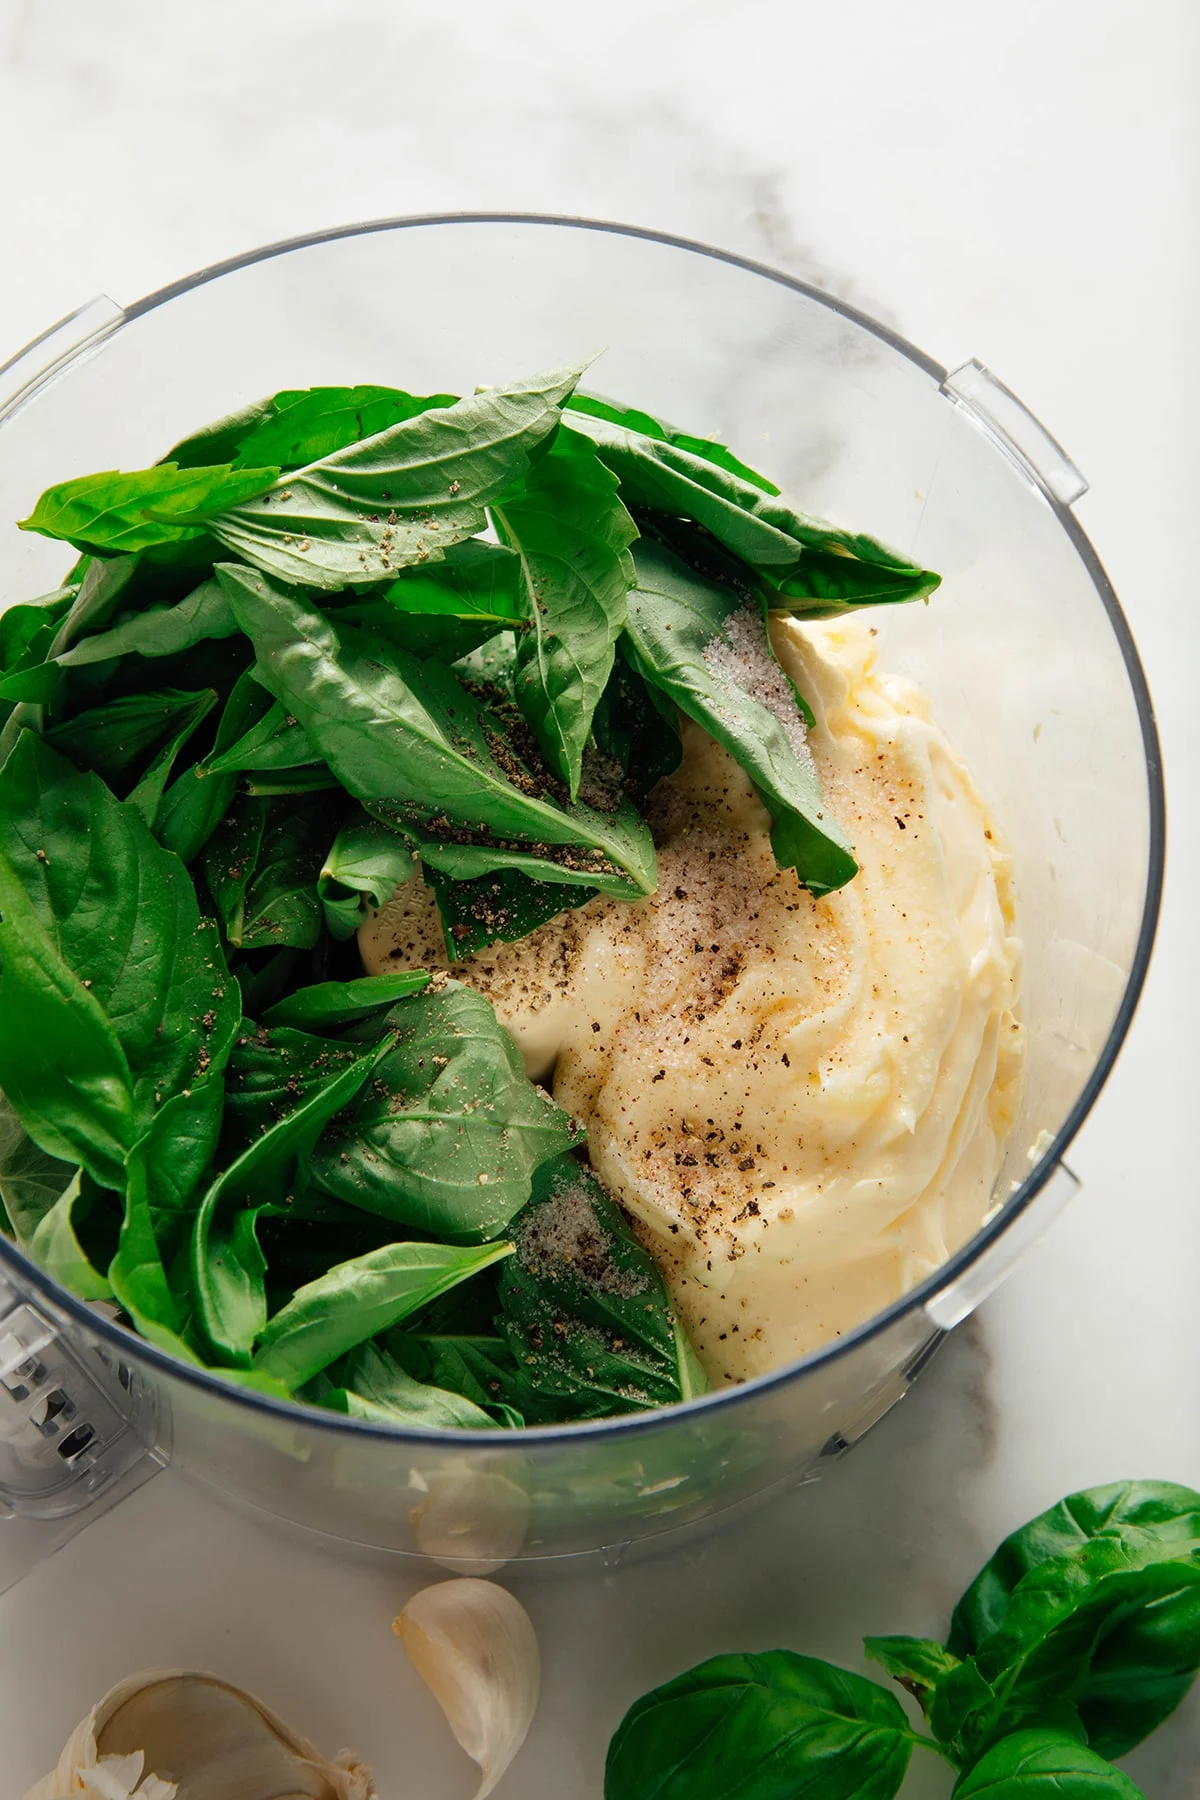
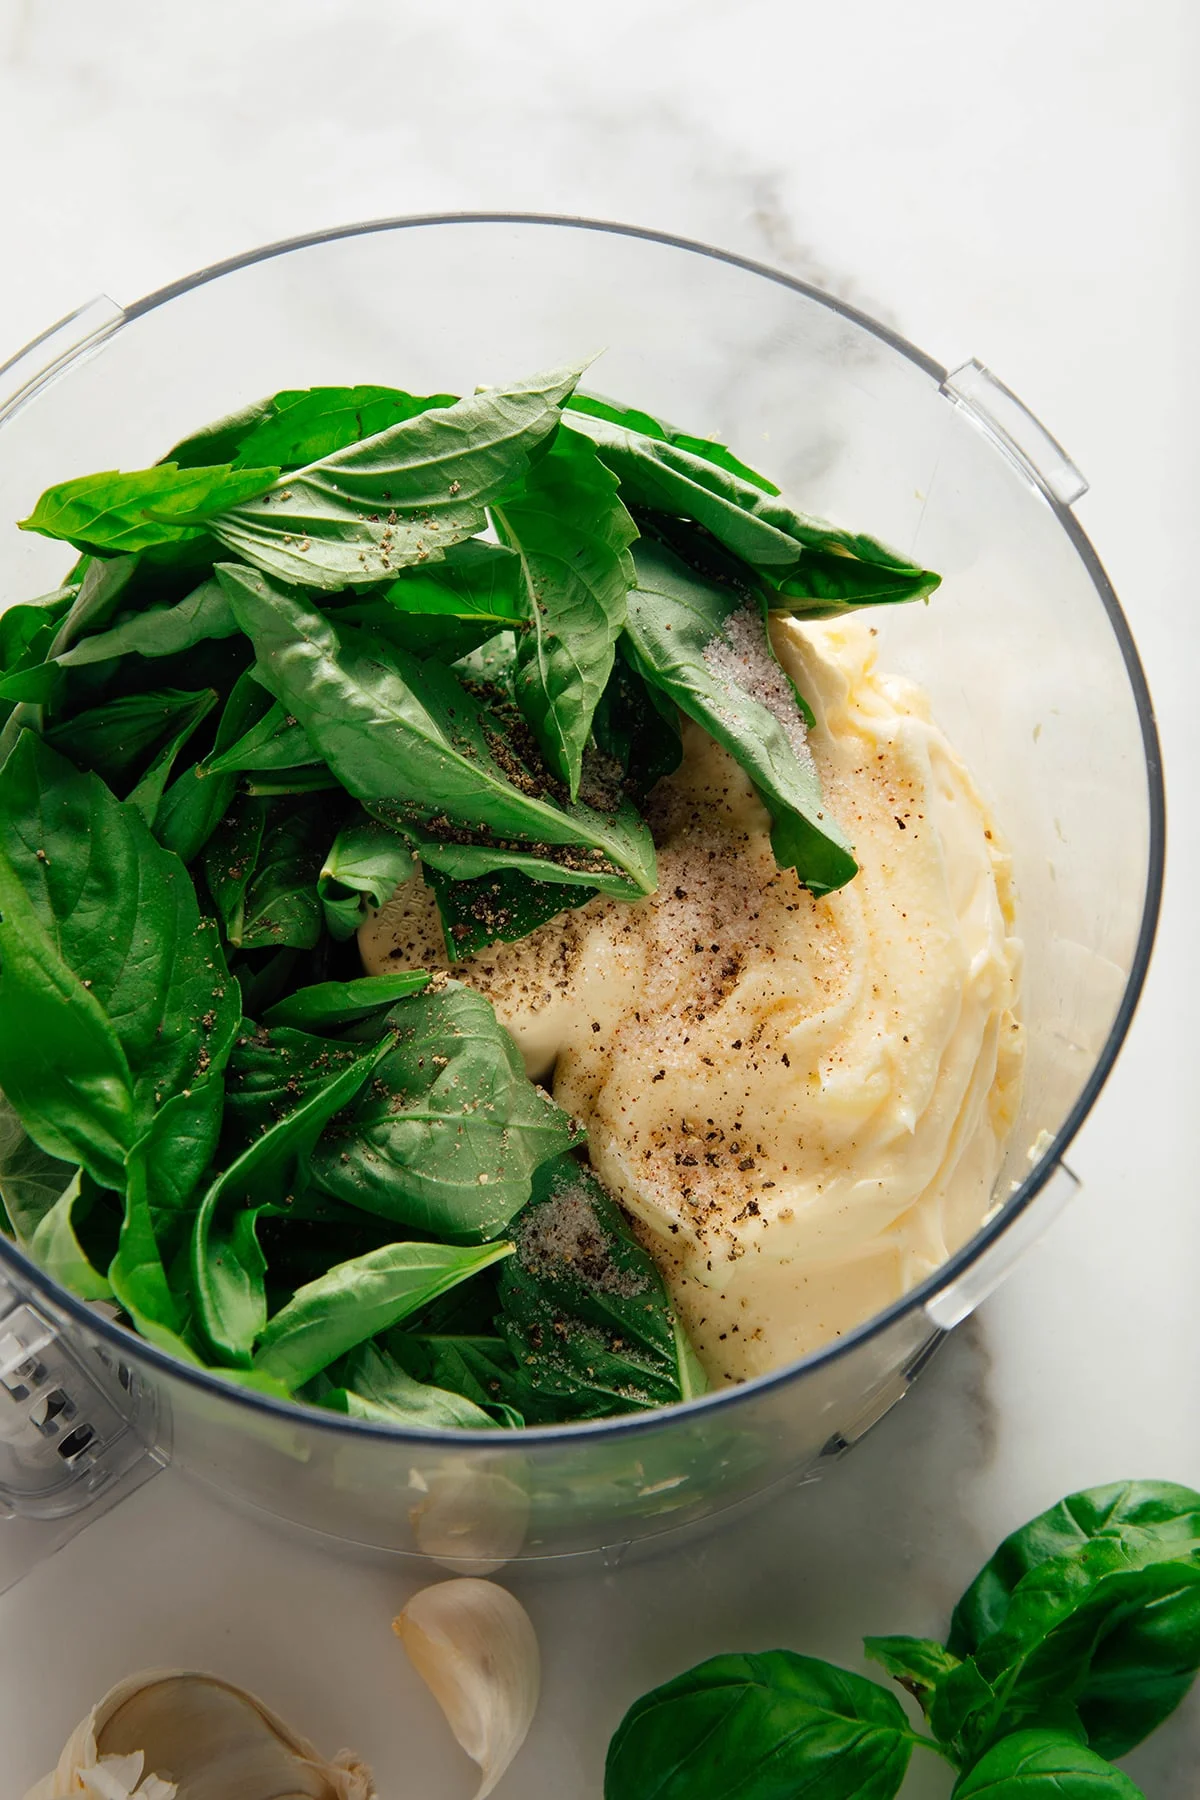
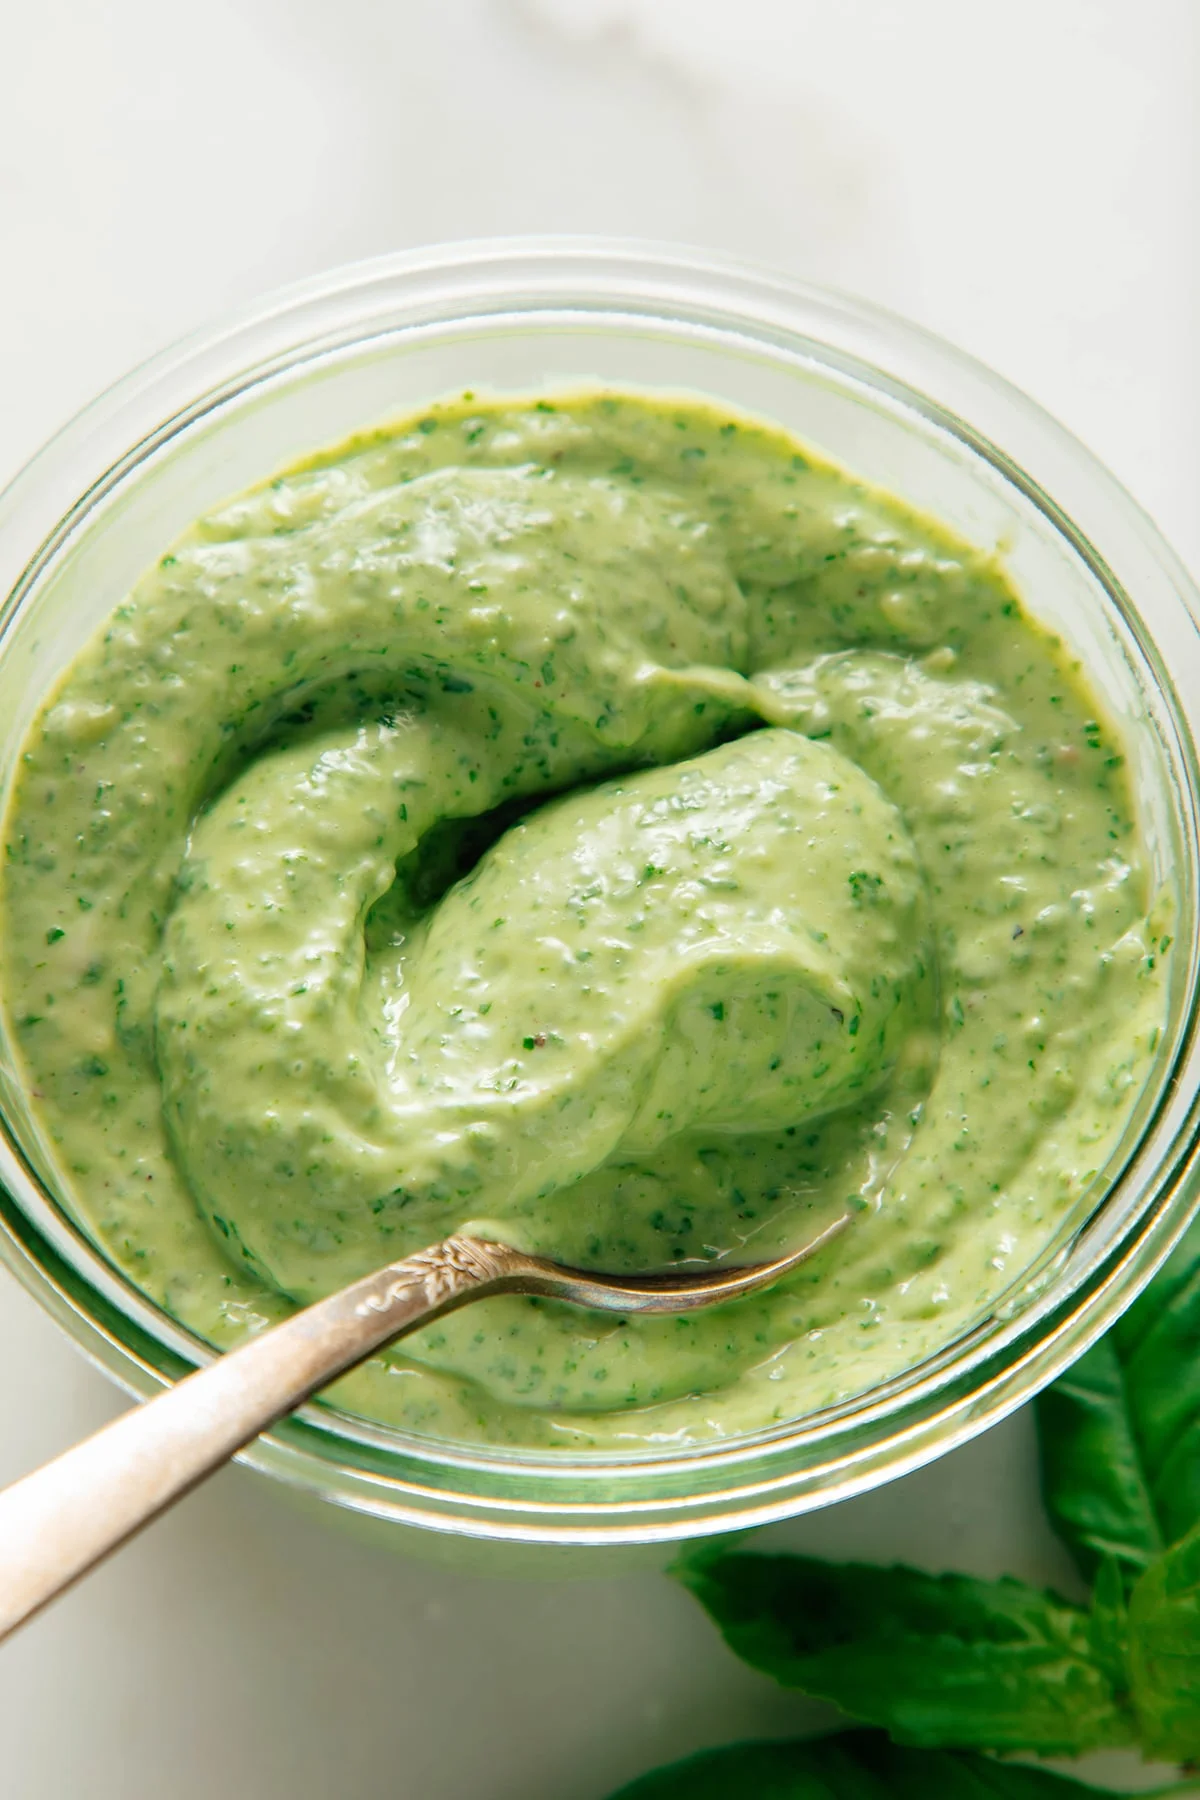
Here’s the whole thing: one clove of garlic, a cup of fresh basil, a cup of mayonnaise, a scant 1/2 teaspoon of salt, pepper, done. It sounds thin. It’s not. It comes together like a fresh, summertime aioli, and it turns plain sandwiches and snacks into something people ask about.
Why mayo? I don’t reach for it much, either
After eight years of running lines in restaurant kitchens, I learned that the base of a sauce does the heavy lifting. Mayo gives this one a luxuriously creamy, slightly tangy body that I can’t get from anything else in the fridge. I use Duke’s — it’s what I picked up because I actually like the taste — but an avocado-oil mayo works fine if you’d rather cut the excess without losing the texture.
On basil: use the leaves and the little stems, and leave the thick stalks behind. That’s where all the flavor is.
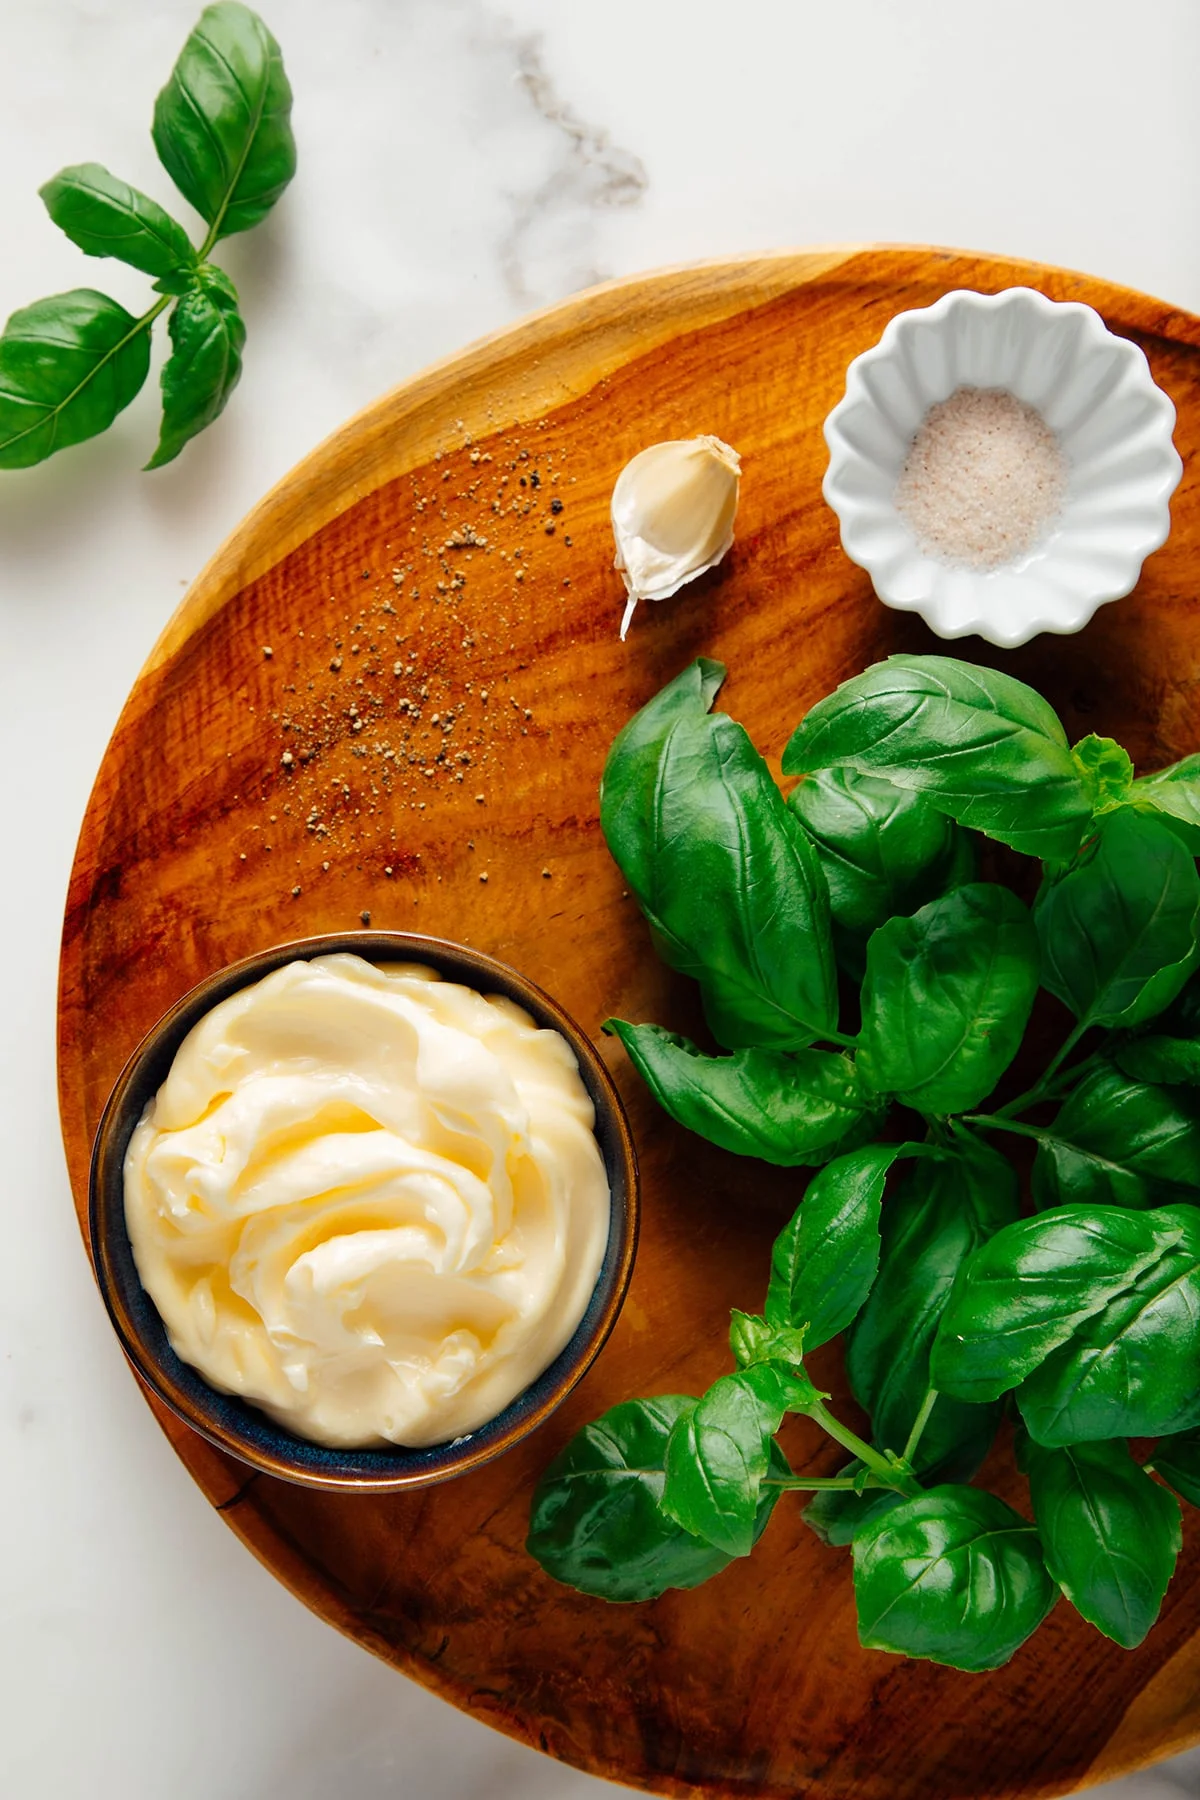
What you need
1 medium clove garlic, cut into several pieces
1 cup lightly packed fresh basil leaves (about 0.7 ounces)
1 cup mayonnaise
Scant 1/2 teaspoon fine salt
Freshly ground black pepper, to taste
One note on the basil: it keeps better on the counter than in the fridge, which is a small mercy. And your sauce will come out a brighter green if the basil is dry before it hits the processor — wash it under cool water, pat it down, let it air dry a bit. You won’t get there any other way.
Steps
Pulp the garlic in the food processor until it’s finely chopped — I don’t want to dirty a garlic press or a cutting board for one clove. Add the mayo, basil, salt, and pepper, and process until smooth. Taste it. You’re done.
Leftovers keep for up to 1 week in a sealed jar in the fridge.
Where I actually use it
It plays well with tomatoes and any summer produce on hand, and a drizzle of thick balsamic gives it an edge. What’s been working for us:
Avocado toast. A light drizzle, with sliced tomato on top. Simple.
Eggs. Fried or scrambled, with a slab of crusty toast for sopping it up.
Fries. The friendship that started all this. Warm potato wedges, cold sauce.
Pizza. A classic Margherita, with the sauce on the side for dipping, exactly like ranch.
Sandwiches and wraps. A spread of it on the bread gives any sandwich a hit of fresh, summery flavor. The grilled cheese became the family favorite. So did the caprese sandwich.
Socca and panisse. Chickpea flatbread, or chickpea fries. Tastes better than it should in a good way.
Veggie dip. Bell pepper, carrot, celery, broccoli. Add cheese and crackers and you’ve got a summer appetizer.
My rule of thumb: if it’s tomato-based, or it’s a fry, this goes on it.
Basil overflow? Make pesto
If the garden is jammed with it and you’ve already made every pesto recipe you know, this is the next one. It’s also the easiest bridge I know into a bigger pesto — same machine, same garlic, same basil — or into a green goddess dressing if you want to push it in a zesty direction.
Make it yours: a drizzle of thick balsamic for a sharper bite, or fold in a handful of grated cheese if you want it thicker and richer. For a no-machine version: finely chop the basil, mince the garlic by hand, and whisk everything together in a bowl. It takes longer than five minutes, but it’s the same sauce.
Tell me what you used it on, if you make it. I want a running list.
There’s a moment every summer, maybe the second or third warm evening in a row, when the grill stops being a project and just becomes a tool. Something is on the coals, the neighbors can smell it, and dinner takes itself.
That’s when pork tenderloin earns its place. It’s one of those cheap, lean cuts that never gets a fair look — until it’s on your plate with real charred, caramelized edges and a flavor that makes people ask what you did to it. Nothing heroic, I promise. Thirty minutes of marinating and a bare handful of ingredients are all it takes.
Real time: 55 minutes, barely. Hands-on: about 15. The rest is the grill doing its job and the meat resting on a cutting board while the rest of the table settles.
The marinade that made me stop looking
All summer I’ve been testing marinades, and this one is the one that stuck. Olive oil, low-sodium soy sauce, Dijon mustard, honey, lemon juice, pressed garlic, salt, pepper, smoked paprika. That’s the whole list, and it lands in a way none of the single-note rubs seem to: savory, tangy, garlicky, lightly smoky, just a little sweet. Finish the sliced pork with flaky sea salt and you’re done. No glaze, no basting rounds, no plating ceremony.
It works as a quiet Tuesday dinner and it works as the thing I bring out when friends show up to the patio. That’s the bar I actually hold dinner to.
What you’ll need
2 pork tenderloins, about 2 pounds total
1/3 cup olive oil
1/3 cup low-sodium soy sauce
2 tablespoons Dijon mustard
2 tablespoons honey or maple syrup
2 tablespoons freshly squeezed lemon or lime juice
4 large cloves garlic, pressed or finely minced
1 teaspoon fine sea salt
1 teaspoon freshly ground black pepper
1 teaspoon smoked paprika
Flaky sea salt for the top
That’s it. If you only keep one pantry staple for grilling season, let it be a good Dijon and a bottle of the low-sodium soy. Everything else grows in a yard or lives in the produce aisle.
How to cook it, start to platter
Make the marinade. Whisk the olive oil, soy sauce, Dijon, honey, lemon juice, garlic, salt, pepper, and smoked paprika together in a medium bowl.
Marinate. Put the tenderloins in a zip-top bag or shallow dish, pour the marinade over, and turn to coat. Seal it and refrigerate for at least 30 minutes, up to 8 hours.
Heat the grill. Get it to medium-high, around 400°F (about 205°C), and wipe the grates clean before oiling them.
Grill. Pat off the excess marinade and discard the rest. Set the pork on the grill and cook 12 to 16 minutes total, turning every 3 to 4 minutes, until all sides are browned and the thickest part reads 145°F (63°C) on an instant-read thermometer.
Rest, slice, serve. Move the pork to a clean board and let it sit 5 to 10 minutes. Slice across the grain, sprinkle with flaky sea salt, and serve while it’s still warm.
Tips that keep it tender
Use tenderloin, not loin. They sound alike and they aren’t. Tenderloin is long, narrow, and fast. Loin is a bigger cut with a totally different cook time, and one where you’ll end up with dry meat if you follow this recipe.
Trim the silver skin. That thin silvery membrane on one side is tough and chewy. Slide a sharp knife under it and peel it off before marinating. Takes a minute, saves the whole dish.
Don’t over-marinate. Thirty minutes is plenty; a full night (up to 8 hours) is fine. Past that, the citrus starts turning the texture mealy, and you lose the snap you want in a lean cut.
Trust the thermometer, not the eye. 145°F (63°C) at the thickest part is done, and a faint blush in the center is fine. It’s the only real defense against gray, dry pork.
Take 10 minutes for the rest. The juice will actually settle back into the meat. It’s the difference between a slice that sparks and one that soaks the board.
Slice against the grain. Run your finger along the fibers to find their direction, then cut across. Each bite comes out noticeably more tender.
Make it yours
The marinade is built to be played with, so match it to whatever you’re serving:
Stir in chopped rosemary, thyme, oregano, cilantro, or parsley for a fresher note.
Add crushed red pepper, cayenne, sriracha, or a spoonful of harissa if you want heat.
Swap the lemon or lime for orange juice, if your table likes a sweeter, softer citrus.
Add a tablespoon more honey or maple syrup for a stickier, more caramelized finish.
Go deeper on the smoke: chipotle powder in place of the smoked paprika, or a spoon of adobo sauce from a can of chipotles.
Serve with chimichurri, tzatziki, pineapple salsa, green goddess dressing, or a two-minute garlic yogurt sauce.
What to put on the table
This pork is a blank check for the rest of the plate. Grilled vegetables are obvious and correct. A colossal batch of mashed potatoes makes it a proper holiday-style Sunday. If it’s hot enough that a cold side makes sense, a chopped salad or a bowl of straight fruit does the job.
Questions people actually ask
What temperature should pork tenderloin be cooked to? 145°F (63°C), measured at the thickest part. A little color in the center is fine and keeps it juicy — pull it the second the thermometer reads 145.
Can I make it without a grill? Yes. Sear the pork in an oven-safe skillet over medium-high, then finish it in a 400°F (205°C) oven until the thickest part reaches 145°F (63°C). A grill pan on the stovetop works the same way.
Can I use this marinade on anything else? Easily. It’s tuned for chicken, shrimp, salmon, and steak, and it’s even decent on a firm tofu. Just shorten the marinating time for the lighter proteins and let the cook time do what it does.
The good news about an honest, fast piece of meat is that it gives you back your evening. The grill handles the cooking, the marinade handles the flavor, and you get to actually be at the table for it.